
Last updated October 16, 2026
 Water damage drying
 Fire & smoke cleanup
 Mold remediation
 Storm response
 Sewage cleanup
 Reconstruction
Free visual inspection and a written scope of work before any mitigation begins - photos, moisture readings, and drying logs go in your claim file
The scope we write is the scope we bill. Anything new gets shown to you, in writing, before we touch it.
Get your free estimateThe Complete Guide to Damage Restoration in Tampa
Most Tampa homes are declared “dry” at 16% wood moisture content. Here’s the problem: the equilibrium moisture content in Tampa’s humid subtropical air means that reading can climb back to 19% within a week without a single new leak. The restoration standards written for Phoenix or Denver do not hold up in a city where average outdoor relative humidity sits near 76% year-round. This guide explains what actually happens when water, fire, or mold damage strikes a Tampa home, how the restoration process works in this specific climate, and what questions to ask before anyone picks up a tool. For more guides & resources on protecting your home, see our blog.
Quick Answer
Damage restoration in Tampa is the process of returning a home to its pre-loss condition after water intrusion, mold growth, or fire. Because of Tampa’s humidity, the most critical phase is not removing water, but achieving a true local drying standard, typically requiring wood moisture content readings below 12% and an indoor relative humidity below 50%, verified over multiple days. A quality restoration includes source identification, documented moisture mapping, professional drying with commercial equipment, and verification that the home will not reabsorb moisture from the air itself.
Restoration work we handle
Table of Contents
- Why Tampa’s Climate Changes Everything About Drying
- The Four Damage Categories Specific to Tampa
- Why Written Price First Matters More in Tampa Than Anywhere Else
- The Tide Mark Method: Treating the Water You Cannot See
- The Restoration Process: Step by Step
- How to Read a Post-Drying Moisture Report
- Insurance, Documentation, and Working with Adjusters
- Common Mistakes to Avoid
Why Tampa’s Climate Changes Everything About Drying
The single biggest misconception in Tampa restoration work is that drying a home is a one-time event. In most of the country, you remove standing water, run fans and dehumidifiers for a few days, verify the moisture content dropped below 16%, and declare the job finished. In Tampa, that sequence fails because the air itself is a moisture source. The hygroscopic materials in your home, drywall, hardwood flooring, wood studs, cabinetry, are constantly exchanging moisture with the surrounding air. When outdoor humidity hovers between 70% and 90% for weeks at a time, even a properly dried home will reabsorb water from the air unless the indoor environment is actively controlled.
What this means in practical terms: a restoration contractor in Tampa cannot simply hit a generic 15% wood moisture content threshold and walk away. The home needs to be dried below the local equilibrium point, typically 12% or lower for wood, with interior relative humidity brought to 40-50% and held there during the drying process. If a contractor pulls equipment before hitting these numbers, the home will slide back toward the 16-19% range within days. That is when secondary damage appears: cupped hardwood, swollen baseboards, musty odors that return, and the slow bloom of mold behind walls that never actually stabilized.
We’ve seen this pattern repeat across Tampa neighborhoods from Seminole Heights to Westchase. A homeowner calls another company, the crew extracts water and runs equipment for three days, the moisture meter says 16%, and everyone is happy. Four weeks later, the homeowner notices a persistent odor near the baseboards and the floor feels soft. The home never actually dried. It just paused long enough for the invoice to clear.
The Four Damage Categories Specific to Tampa
Not all water damage in Tampa is the same, and the first response should differ by source. Here are the four categories we see most often in this city, each with its own failure pattern and its own restoration approach.
1. Tropical Storm Intrusion
Hurricane season runs from June through November, and storm-driven rain finds entry points that have never leaked before. Wind-driven water pushes under soffits, through window seals, and around door thresholds. The water is contaminated with whatever it picked up along the way, roof debris, asphalt particles, soil, and needs to be treated differently than a clean plumbing leak. Response time matters primarily because the water volume is usually substantial and the saturation is widespread across multiple rooms.
2. AC Condensate Overflow
Tampa air conditioners run nearly year-round, and the condensate drain line is one of the most common sources of slow, hidden water damage. When the line clogs, water backs up and overflows the drain pan, often in an attic or a closet. Because the leak is slow and the water is clean, homeowners frequently discover it only when a ceiling stain appears or a musty smell takes hold in a hallway. By then, the water has been wicking through insulation and drywall for weeks. The restoration here is less about extraction and more about controlled drying of concealed cavities.
3. Plumbing Slab Leaks
Many Tampa homes, particularly those built before the 1990s, have copper supply lines running beneath the concrete foundation. Florida’s soil chemistry, combined with the constant presence of groundwater in low-lying areas, accelerates pinhole corrosion. A slab leak can run for months before a homeowner notices warm spots on the tile, a spike in the water bill, or the sound of running water with no fixture open. Restoration after a slab leak often involves cutting into the slab, repairing the line, and then drying both the concrete and the flooring above it. The drying process for concrete is different from wood and takes longer.
4. Reclaimed Irrigation Backflow
Tampa has a large reclaimed water system for irrigation, and it is a genuine restoration concern. Backflow events happen when potable water pressure drops and reclaimed water, which is treated but not potable, is drawn back into the home’s plumbing through a failed check valve or cross-connection. This water introduces contaminants into the home. The response requires sanitization in addition to drying, and the specific procedures are more involved than a clean-water event.
Each of these categories demands a different first move. A storm intrusion calls for rapid extraction and containment. An AC condensate overflow calls for careful cavity drying. A slab leak calls for concrete drying protocols. A reclaimed water event calls for sanitization before anything else. A contractor who treats all four the same way is going to miss something.
Why Written Price First Matters More in Tampa Than Anywhere Else
Tampa is a competitive restoration market, and emergency phone calls to national franchises often follow a predictable pattern. A homeowner calls at 2 a.m. with water pouring through a ceiling. The answering service dispatches a crew. The crew arrives, walks the property, and begins working immediately, often without a number ever being discussed. The homeowner, who saw water spreading across a floor and wanted exactly one thing, for someone to make it stop, signs whatever is placed in front of them. Weeks later, the invoice arrives and it is far beyond anything discussed.
This is not how restoration work has to work. The independent model, the one we follow under the Cedarwell Care Promise, starts with a written price delivered before any work starts. Not an estimate with a hedge. Not a range. A written number, based on an actual inspection of the actual damage in the actual home, delivered before the first piece of equipment comes off the truck. If the situation is urgent, the urgent part gets addressed first, but the price is still delivered in writing before the work proceeds beyond stabilization.
The written-price-first model protects Tampa homeowners in two ways. First, it eliminates scope creep on the invoice side. Every additional room, every piece of additional equipment, every day of extra drying is either included in the original number or discussed and agreed to before it happens. Second, it changes the incentive structure. A contractor who knows the price is already fixed is incentivized to do the job efficiently and correctly the first time, not to stretch it out for additional billing days. That second point matters enormously in a city where drying timelines can legitimately vary from three days to three weeks depending on humidity and construction type.
The Tide Mark Method: Treating the Water You Cannot See
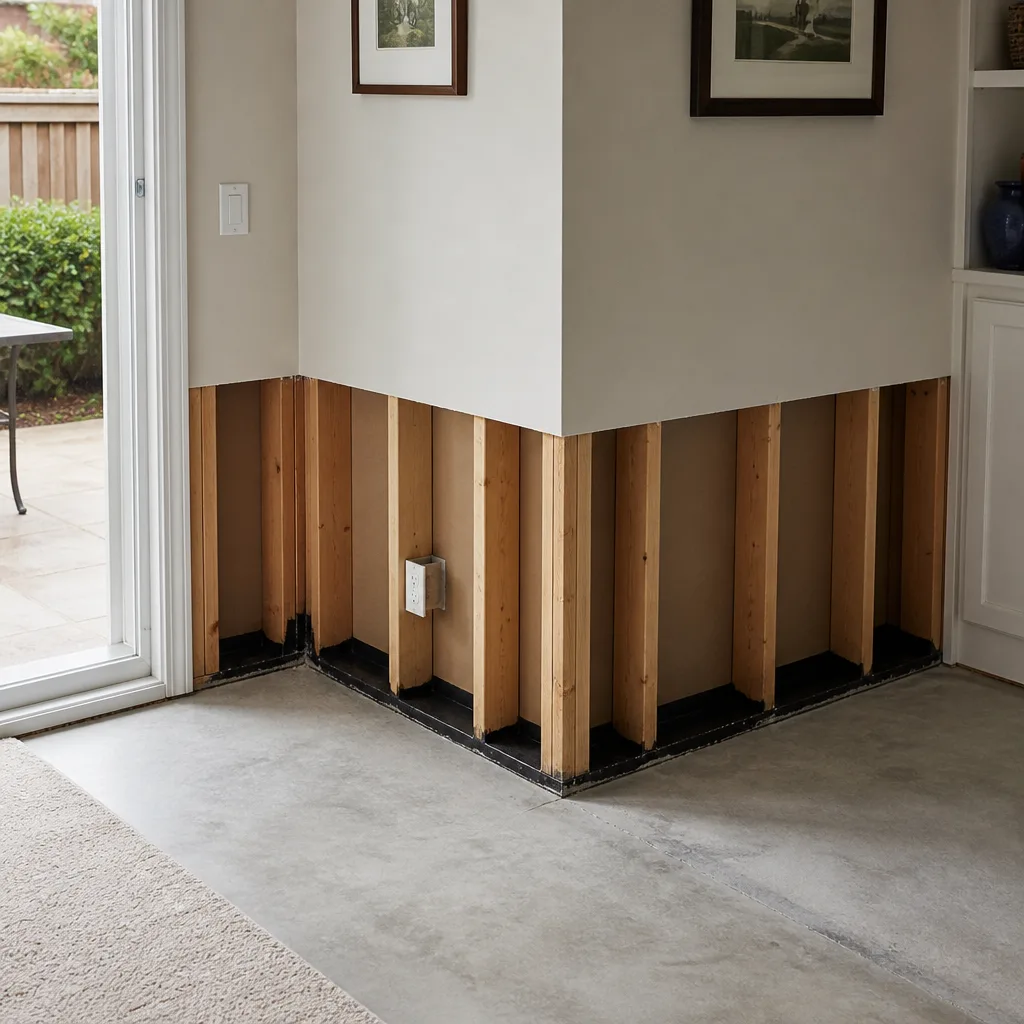
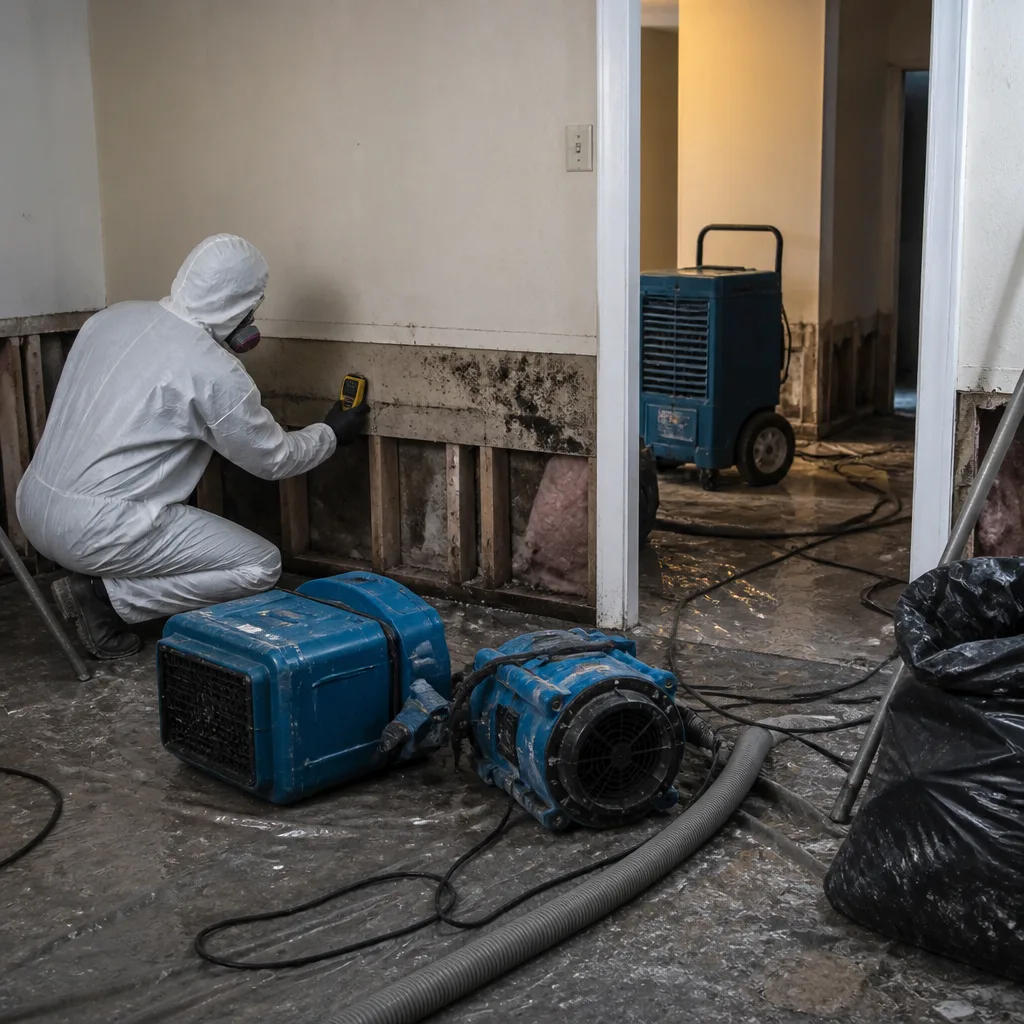
A tide mark is the line water leaves on a wall, the visible boundary between what got wet and what stayed dry. It is the first thing our technicians look for on every job, and it is the foundation of the restoration approach that carries our name. Water travels. It follows the path of least resistance, running along floor joists, wicking up drywall, pooling in low spots you cannot see. The visible puddle is rarely the full extent of the damage. The real work is tracing where the water went from there.
Here is the method, step by step:
- Map the source. Find where the water entered and the exact point where it was stopped. The source tells you what kind of water you are dealing with and where it likely went.
- Trace the tide mark. Using moisture meters and thermal imaging cameras, follow the path of saturation from the source outward. The goal is to find the furthest point water traveled, not just the area that looks wet.
- Identify the full footprint. Mark every affected area, including hidden cavities. Water will travel through wall interiors, under cabinetry, and inside floor systems. If it is not mapped, it will not be dried.
- Dry past the tide mark. Place drying equipment to cover not just the visibly wet zone, but the perimeter beyond it. This prevents moisture from being pushed further into dry areas during the drying process.
- Verify with documentation. Daily moisture readings, recorded and shared. The job is not done when the visible water is gone. The job is done when the readings show the entire footprint, including the perimeter, has reached a stable local dry standard.
Why does the furthest point matter? Because that is where secondary damage begins. Mold does not care about the center of the puddle. It establishes in the transition zone, the area that was damp but not saturated, where materials are just wet enough to support growth. If a restoration stops at the visible line, the unseen perimeter stays damp, and the homeowner gets a mold problem in six weeks and a restoration crew back in their home.
The Restoration Process: Step by Step
Every restoration follows a structured sequence. The details adapt to the type of damage, but the framework holds. Here is what a proper restoration looks like from start to finish in a Tampa home.
1. Inspection and Written Price
A technician walks the property, traces the damage, and delivers a written price before work begins. This includes a scope of work, the equipment list, the drying plan, and the expected timeline. Nothing starts until the homeowner has seen and approved the number.
2. Stabilization and Property Protection
Before any equipment comes through the door, shoe covers go on. Drop cloths cover the floor along the path from entry to the damage zone. Furnishings in the immediate area get moved or covered. This is not an upsell. It is standard practice, and it should be expected from any crew in your home.
3. Water Extraction or Debris Removal
Standing water is removed using extraction equipment. For fire or mold work, this phase involves removing damaged material and containing the area to prevent spread. In water damage, extraction is the fastest phase, but it is only the beginning.
4. Structural Drying
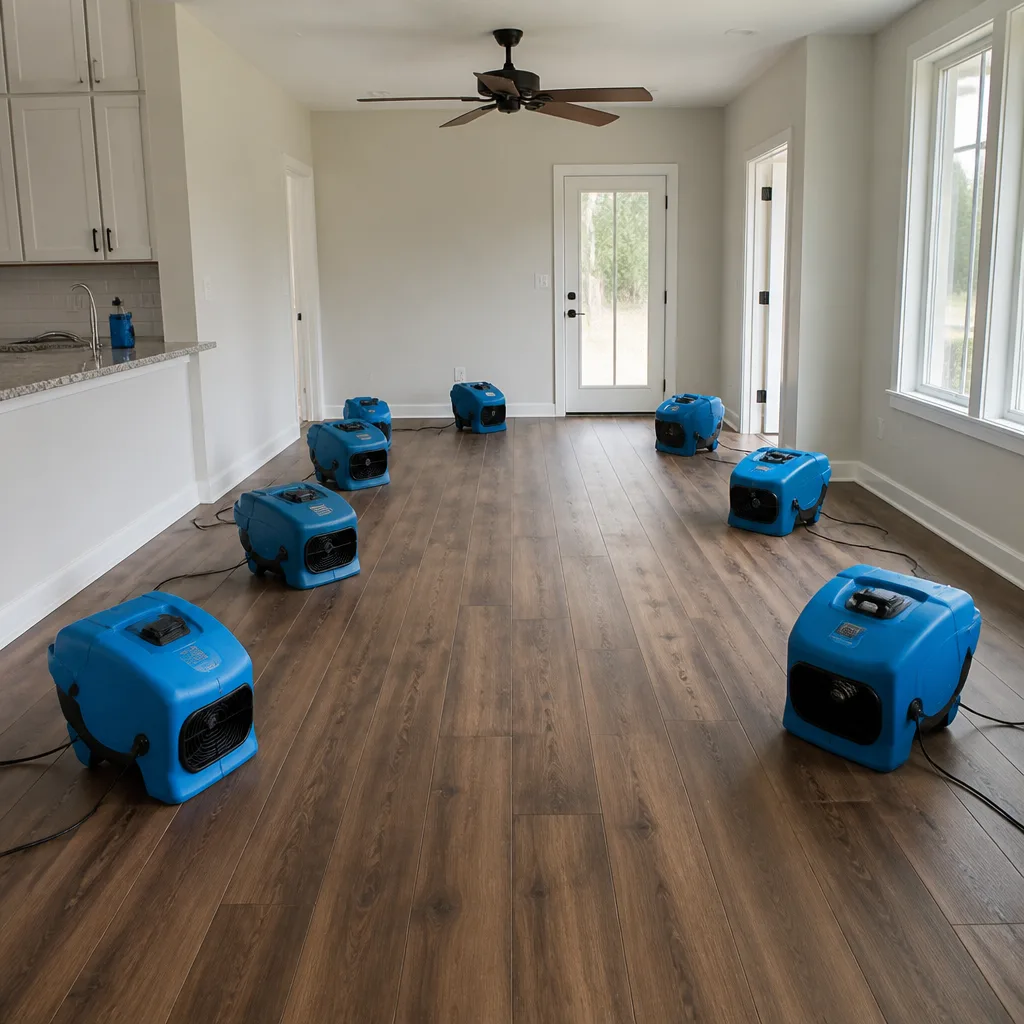
Commercial air movers and dehumidifiers are placed based on the tide mark mapping, not dropped randomly in the center of the room. Equipment placement matters. The goal is to create controlled airflow across every wet surface and drive moisture out of the structure. Drying equipment from Dri-Eaz, Phoenix, and B-Air is built for this, and placement is a skill, not a formality.
5. Monitoring and Daily Readings
Drying progress is measured daily. Moisture content in wood, drywall, and concrete is recorded. Relative humidity is tracked. The data tells the story. If the numbers are not moving, the plan changes, more equipment, different placement, or a different drying strategy. The homeowner should see these readings and understand them.
6. Verification and Documentation
The final phase is verification that the entire affected footprint, including the perimeter beyond the visible tide mark, has reached a stable local dry standard. A photo of the clean-up is taken and shared before the crew leaves. The homeowner sees exactly what was done and how the home was left.
How to Read a Post-Drying Moisture Report
The moisture report is the document that tells you whether the restoration actually finished. Most homeowners receive one and glance at the numbers without knowing what they mean. Here is what to look for.
Wood Moisture Content
For structural wood in a Tampa home, the target reading should be at or below 12%. If the contractor is using the national generic threshold of 16%, push back. In a 76% relative humidity environment, 16% is not dry. It is teetering on the edge of reabsorption.
Relative Humidity
Interior relative humidity during and at the end of drying should be below 50%, ideally in the low 40s. If the report shows 55% or higher, the home is not dry enough to prevent moisture reabsorption and mold growth in concealed spaces.
Specific Materials
Concrete slabs dry on a different scale than wood. A proper report will break out readings by material type, not give a single lump-sum number. Drywall, hardwood, subfloor, concrete, each should have its own reading.
Consistency Over Time
A single day’s reading is not enough. A proper report shows the trend across multiple days. If readings are dropping, drying is working. If they plateau at a high value, something is wrong, a hidden source, an equipment issue, or a missed cavity.
The Full Footprint
Readings should cover every mapped area from the initial inspection, not just the room where the water was visible. If the report shows readings for the living room but not the wall cavity behind it, part of the job was skipped.
Ask your contractor to walk you through the report line by line. A good one will be happy to do it. A contractor who deflects or says the numbers are “fine” without showing them is waving a flag.
Insurance, Documentation, and Working with Adjusters
Most Tampa restoration work involves an insurance claim, and the relationship between the homeowner, the restoration contractor, and the adjuster shapes everything about how the job proceeds. Understanding Damage Restoration Permits, Codes & Inspections in FL: What You Need to Know helps ensure nothing gets missed. The homeowner is the one who lives with the result, but the adjuster is the one who writes the check. That triangle creates friction when documentation is weak.
Photo documentation is the single most important factor in a smooth claim. Every step should be photographed: the initial damage, the tide mark mapping, the equipment placement, the daily readings, the final condition. A file of photos that tells the complete story makes the adjuster’s job easier and protects the homeowner from disputes down the line. If a question arises months later about whether a particular room was actually affected, the photos answer it.
Direct adjuster coordination matters too. The restoration contractor should be willing to speak with the adjuster, explain the scope of work, and provide documentation in the format the insurance company expects. This is not overstepping. It is part of finishing the job correctly. We handle this coordination on every claim, and the difference it makes is the difference between a claim that resolves in two weeks and one that drags for two months.
Frequently Asked Questions
Most water damage restoration in Tampa takes three to five days for structural drying, with total restoration including repairs running one to four weeks depending on the extent of the damage. The drying timeline depends on humidity, construction type, and how quickly the water source was stopped.
Insurance coverage depends on the source of the water. Sudden and accidental events like a burst pipe or storm intrusion are typically covered, while gradual leaks and lack of maintenance are often excluded. Your restoration contractor should provide documentation that supports your claim and work directly with your adjuster. Call (850) 828-8896 and we can help you understand what your claim will likely cover.
In Tampa, genuine emergency response should be same-day for active water intrusion. Calls are answered by a live person 24/7, and crews can typically be on site within hours, not days. The goal is to stop the source and begin extraction before secondary damage sets in.
For small spills that dry within 24 hours, DIY cleanup is often fine. For anything involving saturated drywall, standing water, or water that traveled beyond a single visible spot, professional drying is necessary because concealed moisture will cause mold and structural damage over time. The cost of proper drying is almost always less than the cost of replacing damaged materials later.
Mold remediation in Tampa involves containing the affected area, removing contaminated materials, cleaning remaining surfaces with appropriate agents, and verifying through testing that spore counts have returned to normal background levels. Because of the local humidity, prevention also includes ensuring the home’s moisture balance is stable before the project is complete. Learn more on our Mold Remediation in Tampa page.
Common signs include musty odors, swollen baseboards, cupped or buckling flooring, peeling paint, visible stains on ceilings or walls, and unexplained humidity in specific rooms. Our Damage Restoration Warning Signs: A Tampa Homeowner’s Reference Guide covers what to watch for. In Tampa’s climate, these signs emerge sooner and more aggressively than in drier regions, so early detection matters.
See the difference
 Before
 After
After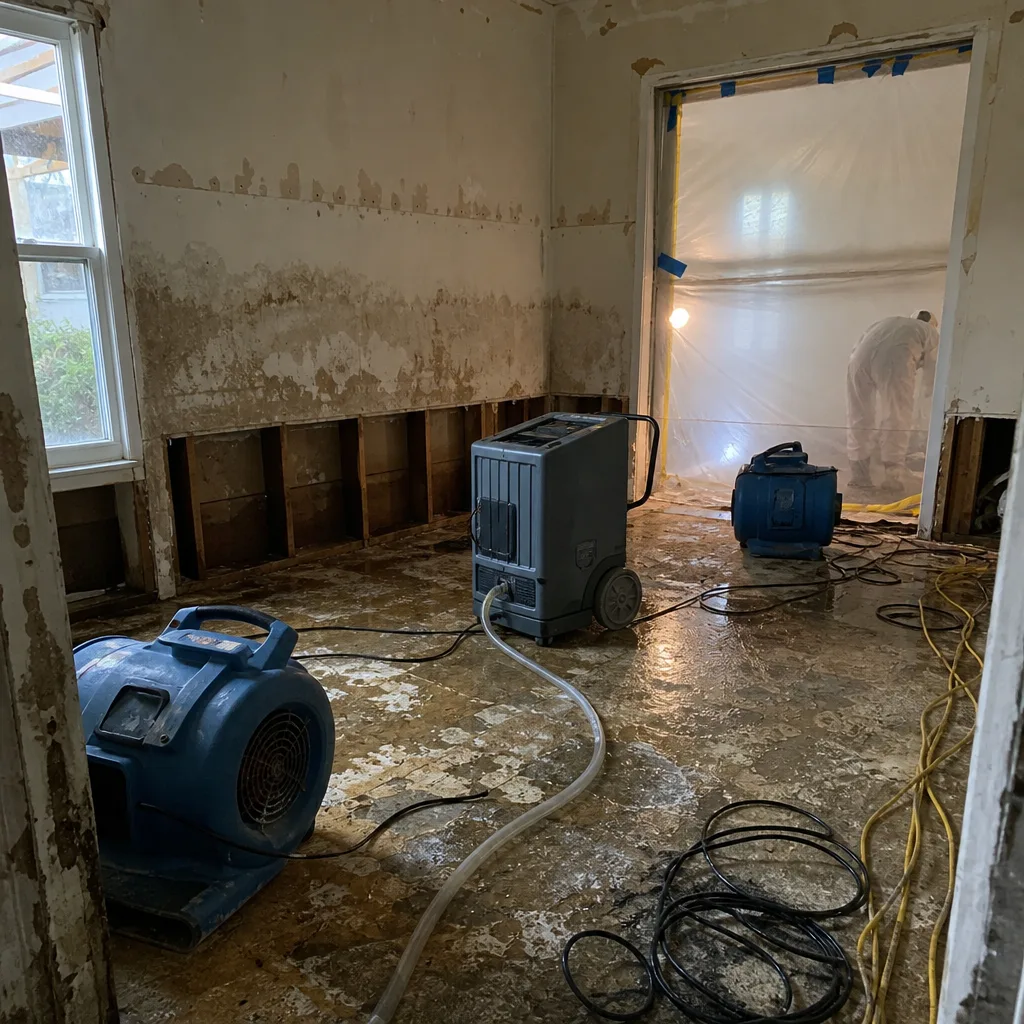 Before
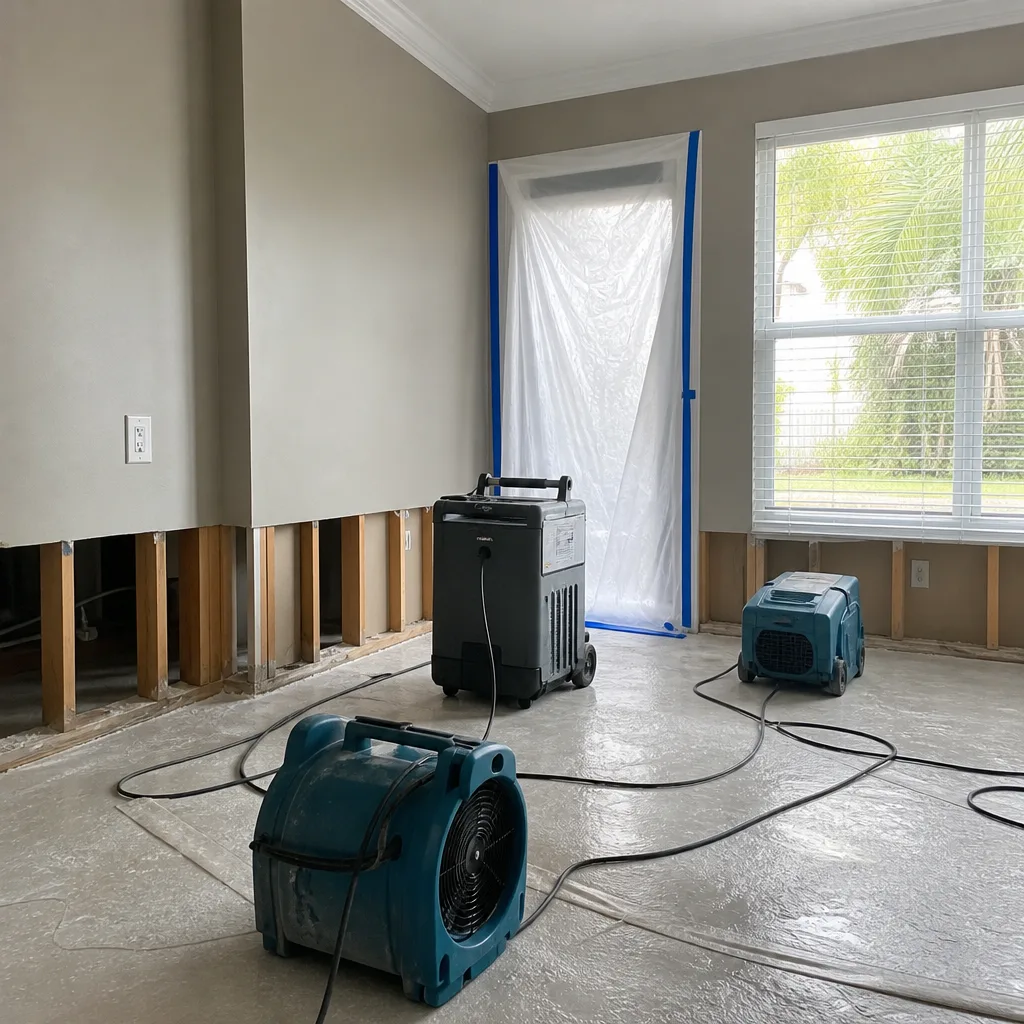 After
After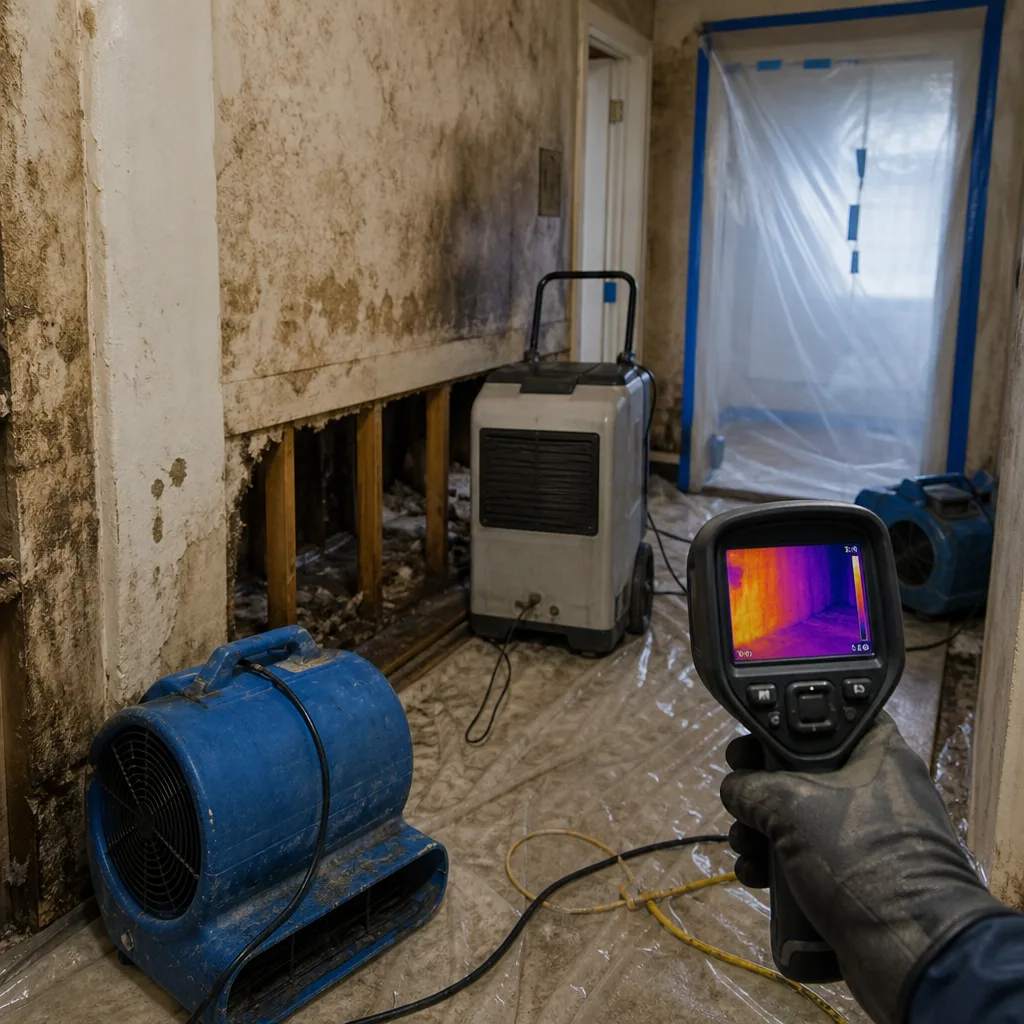 Before
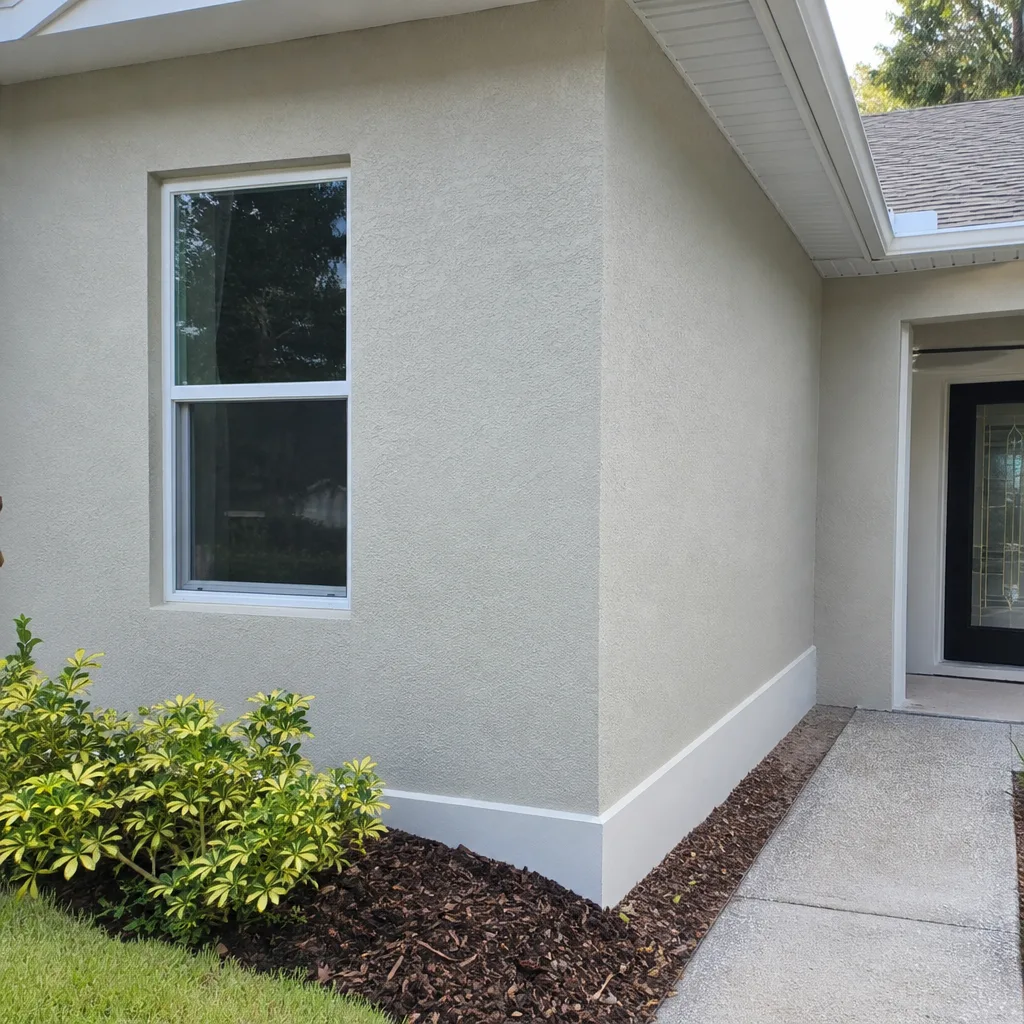 After
AfterCommon Mistakes to Avoid
- Waiting to call. Every hour of delay allows water to spread further and absorb deeper into materials. In Tampa’s humidity, the window before mold begins is shorter than in most of the country.
- Accepting a verbal estimate. If the price is not in writing before work starts, the final invoice will surprise you. A written scope agreed to before equipment comes off the truck is non-negotiable.
- Using residential fans and a shop vac. Household equipment cannot generate the airflow needed to dry structural cavities. The surface dries, the inside stays wet, and the damage compounds silently.
- Stopping drying at 16% wood moisture. In Tampa’s climate, 16% is not a stable dry state. Drying must go below 12% with verified interior humidity control.
- Not documenting everything. Photos before, during, and after are your insurance claim proof. A few minutes of documentation saves weeks of disputes.
- Hiring a contractor who does not trace the full water path. Drying only the visible wet area leaves the hidden perimeter damp. That is where mold establishes and where repeat damage originates.
- Ignoring the AC condensate line as maintenance. A simple annual cleaning prevents one of the most common sources of hidden water damage in Tampa homes.
When to Call a Professional
Call a professional the moment water has penetrated beyond a single cleanable surface. If drywall is wet, if water is pooling, if the source is inside a wall or ceiling, or if the water has been sitting for more than a few hours, the situation is beyond DIY. For fire damage, any structural involvement requires professional assessment before anyone re-enters the home. For mold, visible growth larger than a small patch demands containment and proper removal. Tidemark Water Damage Tampa offers free estimates in Tampa. Call (850) 828-8896 and a live person answers, 24 hours a day.
The Bottom Line
Damage restoration in Tampa is not a generic process with a generic standard. This city’s humidity means drying must go further, verification must be more rigorous, and the margin for cutting corners is smaller. A proper restoration traces the tide mark to its furthest point, dries past it, verifies with documented readings, and delivers a written price before work begins. Homeowners who understand these standards can choose a contractor with confidence, and they can read the final report knowing whether the job actually finished. If your home has taken on water, sustained fire damage, or shows signs of mold, call (850) 828-8896. We’re independently owned in Tampa, working to the Cedarwell Care Promise, and we answer the phone in person every time. Start with the Tidemark Water Damage Tampa home page for an overview, or explore Water Damage Restoration in Tampa and Fire Damage Restoration in Tampa for details on each service.
Written by Rick Sumner, Owner at Tidemark Water Damage Tampa, serving Tampa since 2006.