
Last updated October 16, 2026
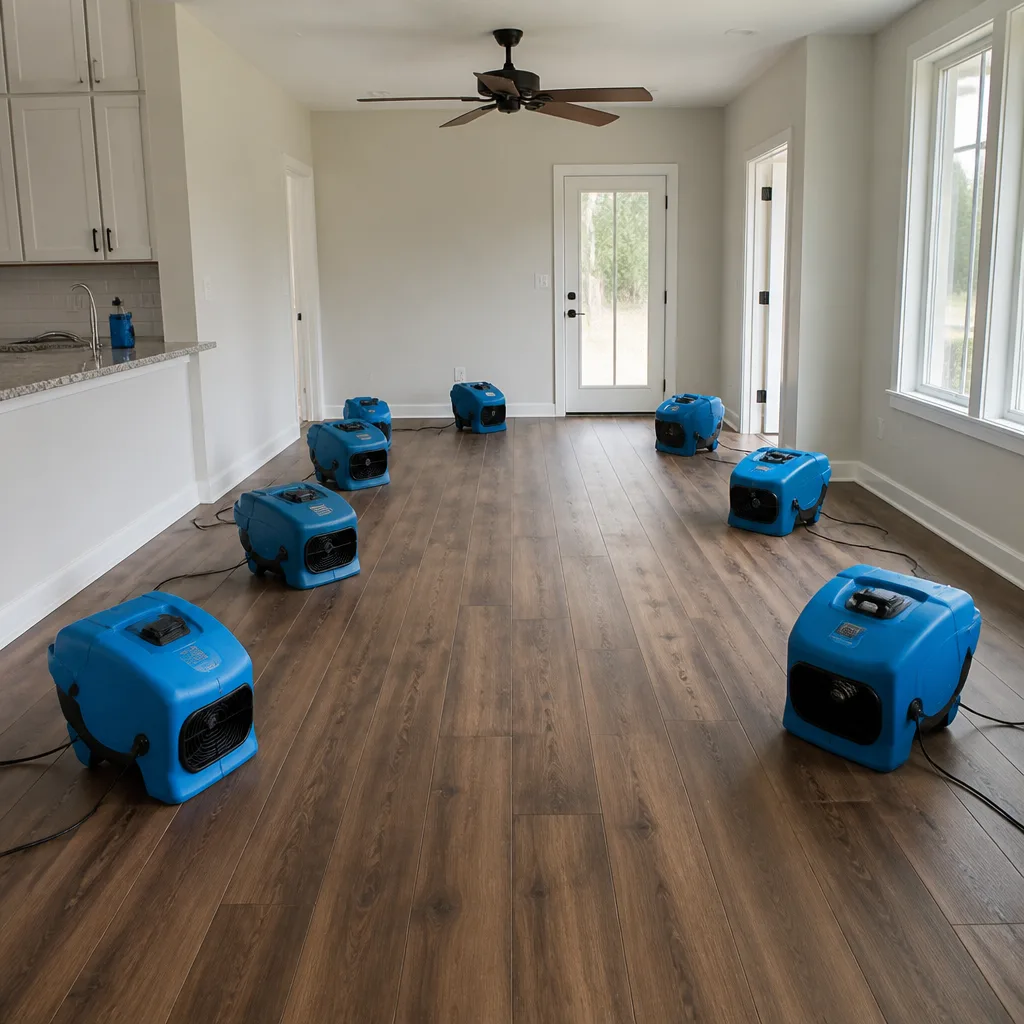 Water damage drying
 Fire & smoke cleanup
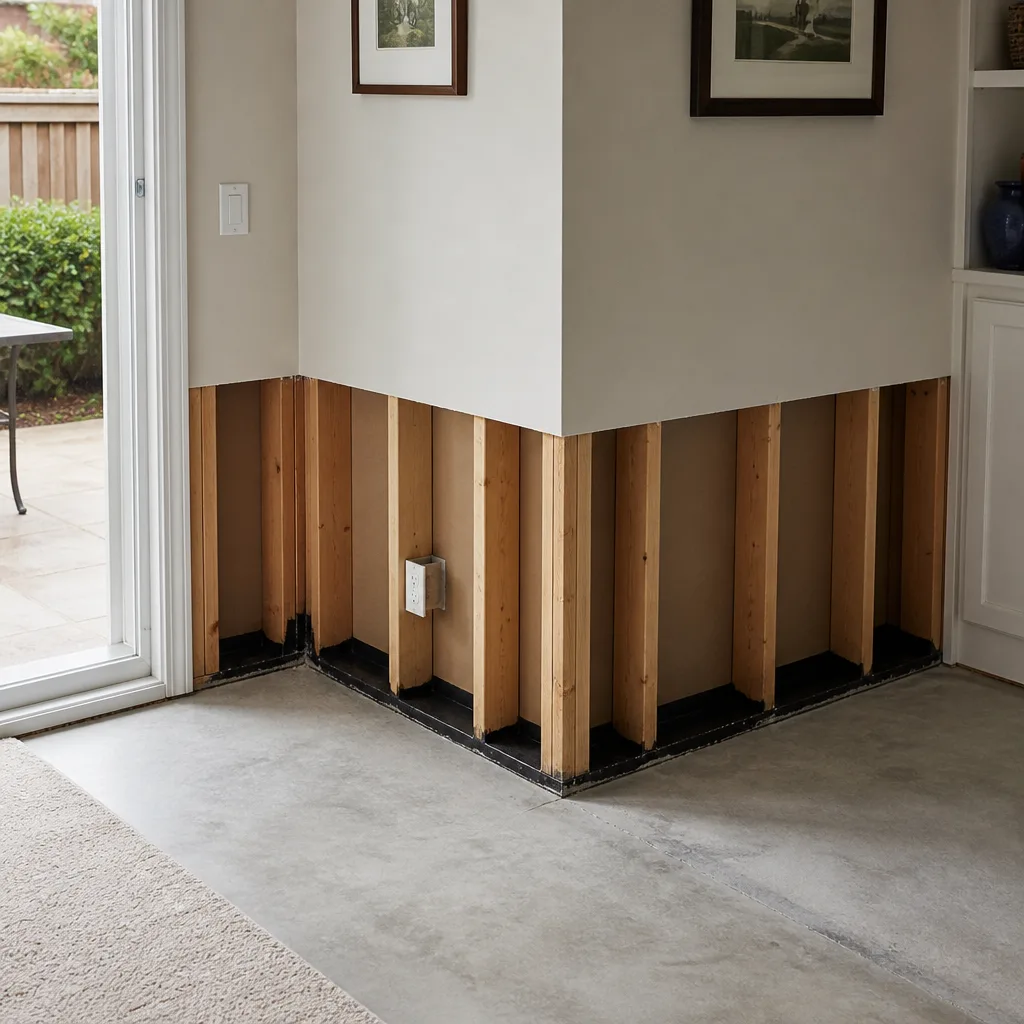 Mold remediation
 Storm response
 Sewage cleanup
 Reconstruction
Free visual inspection and a written scope of work before any mitigation begins - photos, moisture readings, and drying logs go in your claim file
The scope we write is the scope we bill. Anything new gets shown to you, in writing, before we touch it.
Get your free estimateWater Damage Restoration Maintenance Checklist for Tampa Homeowners
Most Tampa homeowners associate water damage with summer thunderstorms, named storms, and the chaos of hurricane season. That assumption is exactly why November through January catches so many households off guard. Tampa’s so-called “dry season” is when slow failures, a toilet wax ring quietly weeping into a subfloor, a pinhole copper leak inside a wall cavity, a slab leak under the foundation, go undetected the longest. Low humidity evaporates surface evidence before you ever see a stain, and the sunny winter weeks convince you nothing is wrong. This guide is built around Tampa’s two functional climates, not generic quarterly advice. You’ll learn what to check during the wet season, what to check during the dry season, which products are safe around kids and pets, how to document your inspections in a way that actually helps an adjuster or contractor, and which maintenance tasks keep a restoration warranty valid.
Quick Answer
A Tampa-specific water damage maintenance checklist splits the year into two inspection modes: wet-season tasks (May through October) focused on drainage, pressure, and storm-readiness, and dry-season tasks (November through April) focused on slow hidden leaks that low humidity masks. The core monthly checks are AC drain lines, water supply valves, toilet bases, under-sink cavities, appliance hoses, window weep holes, and ceiling stains. Document each check with a dated photo and a two-sentence note. The payoff is catching a $300 wax-ring repair before it becomes an $8,000 subfloor replacement.
Restoration work we handle
Table of Contents
- Why Tampa’s Two Climates Require Two Different Checklists
- Wet-Season Checklist: May Through October
- Dry-Season Checklist: November Through April
- The Monthly Five-Minute Walkthrough Every Tampa Home Should Do
- Pet-Safe and Child-Safe Products for Routine Maintenance
- How to Document Inspections in a Way That Actually Helps
- Three Maintenance Items That Keep a Restoration Warranty Valid
- Common Mistakes to Avoid
- When to Call a Professional
- Frequently Asked Questions
Why Tampa’s Two Climates Require Two Different Checklists
Tampa experiences roughly 50 inches of rain per year, and the overwhelming majority of it arrives between May and October. During those months, the ground outside your home is saturated for weeks at a time. Water presses against foundation walls. Drainage systems run at capacity. Humidity inside wall cavities stays elevated. A small leak that would dry out on its own in January stays wet in August, and wet building materials in warm air are exactly what leads to mold growth, warped framing, and delaminated flooring. The wet season checklist is about pressure: giving water somewhere to go, and making sure it goes there.
Then November arrives. The afternoon thunderstorms stop. The ground dries out. Indoor relative humidity drops. This is the season when hidden leaks do their worst work, because nothing announces them. A slow pinhole leak in a copper supply line inside a wall will saturate drywall, reach the sill plate, and begin wicking into surrounding stud cavities, all without leaving a visible stain on the painted surface until the damage is already structural. The dry season checklist is about detection: looking for the things Tampa homeowners stop looking for when the storms stop.
In our experience as a water damage restoration company in Tampa, the jobs that break homeowners’ hearts are rarely the storm floods. Those are obvious. The heartbreaking ones are the $12,000 slab leak that ran for five months during winter because the only symptom was a slightly higher water bill and a warm spot on the tile.
Wet-Season Checklist: May Through October
Run this checklist before the first June thunderstorm arrives, not after. May is the right time. The ground is still dry enough to inspect around your foundation, and the heavy rain has not started yet.
Before the Rains Intensify
- Clean and test your AC condensate drain line. In Tampa, your air conditioner runs for thousands of hours each year. The drain line removes gallons of condensation every single day. When it clogs with algae and biofilm, often within a single Florida summer, water backs up into the air handler, overflows the drain pan, and damages the ceiling or wall below. Pour one cup of white vinegar down the line monthly during cooling season. If you have not done it before May, do it then, and consider having the line professionally flushed.
- Inspect soffit vents and attic ventilation. Wind-driven rain enters through damaged or missing soffit vents during afternoon thunderstorms. This is one of the most common sources of attic water damage we see in Tampa homes. Check that each vent is intact, unblocked by insulation, and properly fastened. A missing soffit vent in a storm with 40 mph wind gusts does not let in a little water; it lets in sheets of it.
- Clear window weep holes. Vinyl and aluminum window frames have small drainage slots at the bottom exterior edge. In Tampa’s humid season, these weep holes fill with dirt, pollen, and insect debris. When that happens, rainwater that enters the frame’s track system cannot drain outward, so it drains inward, into the wall cavity below the window. A wooden toothpick or a gentle blast of compressed air clears them without damaging the frame.
- Check exterior grading and downspout discharge. The soil around your foundation should slope away from the house at about six inches of drop over the first ten feet. Florida’s sandy soils settle over time. Downspouts should discharge at least four feet from the foundation. During a summer thunderstorm, a downspout dumping water at the foundation line is effectively pouring hundreds of gallons directly into your slab perimeter.
- Inspect your roof flashing and boot seals. You are not looking for missing shingles. You are looking at the places where water concentrates, around skylights, plumbing vent pipes, chimneys, and where a lower roof meets an upper wall. One lifted pipe boot is enough water entry to soak insulation and stain a ceiling two stories below.
- Test your sump pump if you have one. Pour a five-gallon bucket of water into the pit and confirm the pump activates, discharges fully, and shuts off. Do this in May, then again in September. Pumps that sit unused for months fail at the exact moment the storm hits.
During the Season
- After any storm with sustained winds over 35 mph, do a ten-minute visual sweep: ceilings, window sills, door thresholds, and attic access points.
- Listen for dripping sounds inside walls after heavy rain. Water traveling through a wall cavity makes a distinctive sound that you will never hear if the TV is on.
- Watch for any ceiling stain that grows darker or larger between checks. Stains that shrink and dry between storms are still active leaks.
This checklist works because it addresses the specific failure points Tampa’s climate stresses most. Our Tidemark Water Damage Tampa home page has more detail on how storm water actually enters a home, but the checklist above is the prevention work that keeps you off a restoration company’s schedule entirely.
Dry-Season Checklist: November Through April
The dry season is deceptive. The pressure is off, and that is the problem. When indoor humidity drops, slow leaks inside wall cavities and under slabs evaporate before they produce visible evidence. The water is still causing damage. It is just not announcing itself. Here is what to check each month from November through April.
- Water bill compared to the same month last year. This is the single most reliable slab-leak detector available to a homeowner. A pinhole leak under a slab can run for six months and cost you thousands in water charges before it shows up as a warm tile or a wet carpet. Compare usage, not just cost. A jump of 2,000 gallons or more without a known cause means you call a plumber and a water damage restoration team in Tampa to investigate.
- Check every toilet base with a dry hand. Run your hand along the floor-to-toilet junction, front and back, on a dry day. A failing wax ring often leaves a slight discoloration, a faint odor, or a barely-damp grout line before it fails catastrophically. Dry-season air evaporates the moisture quickly, so the dampness may only be present in the hour after someone flushes. Check after a flush.
- Open under-sink cabinets and press a dry paper towel against every shutoff valve and supply line connection. Dry season is when compression fittings loosen, especially after the temperature cycling of Tampa’s brief winter dips. A paper towel catches a micro-leak that evaporation hides from your eye.
- Inspect water heater area, including the floor beneath and the wall behind. A slow tank leak or a failing pressure relief valve can drip for weeks in the dry season without anyone noticing because the floor dries in minutes. Look for mineral deposits, rust trails, or warped baseboard material.
- Walk every room with bare feet on tile and hard flooring. A slab leak warms the floor surface. During Tampa’s winter, that warm spot is actually easiest to detect because the surrounding floor is cooler. This is one of the few advantages of the brief cold snaps Tampa gets.
- Check caulk and grout lines around tubs, showers, and exterior door thresholds. Dry season is when caulk dries out and cracks because of low humidity and temperature swings. That allows water from daily showers to enter wall cavities slowly, month after month, with no visible damage until the grout starts falling off the wall.
The dry season is not the off-season for water damage. It is the season when the damage that started in August gets comfortable enough to spread through your framing undetected.
The Monthly Five-Minute Walkthrough Every Tampa Home Should Do
Here is the core ritual. Do it the first Sunday of every month, January through December. Five minutes. Same route every time. The consistency matters more than the thoroughness, because the goal is to notice when something changes from baseline.
- Ceiling sweep (90 seconds). Walk every room looking at the ceiling perimeter, the corners, and around vents and light fixtures. You are looking for any change: a new shadow, a slight yellowing, a faint ring, paint beginning to bubble or peel.
- Valve and connection check (90 seconds). Open the two highest-use under-sink cabinets and the laundry supply box. Dry hand, paper towel. Look for moisture, staining, or corrosion. You are checking the same spots every month so that a change is immediately obvious.
- Baseboard and floor sweep (90 seconds). Walk the perimeter of the rooms that border exterior walls. Look for stains, bubbling, warping, or darkening at the baseboard-to-floor junction, especially near bathrooms, the water heater closet, and the AC air handler.
- Outdoor glance (60 seconds). Walk around the outside of the house. Check that downspouts are still attached and discharging away from the foundation, that the soil has not settled against the slab, and that no new crack has appeared in the exterior stucco or siding.
Write down one or two words per check in a note on your phone: “ceiling: clear,” “valves: dry,” “baseboard: clear.” A month where you skip it is a month where a problem gets a running start. Rick Sumner, Owner at Tidemark Water Damage Tampa, says the most expensive conversations he has with homeowners start with the words “I noticed it a few months ago but thought it would dry out.”
Pet-Safe and Child-Safe Products for Routine Maintenance
Most routine water damage prevention tasks do not require harsh chemicals. Where a product is needed, you have choices that are safer for pets and children than the standard hardware-store default. Here is what to use.
For AC drain lines: White vinegar works well for monthly maintenance. It is food-safe, cheap, and mildly acidic enough to slow algae growth without the corrosion risk of bleach. If the line is already clogged, a wet-dry vac is the correct tool, not a chemical cleaner.
For surface mold on tile and grout: A solution of one part white vinegar to one part water in a spray bottle handles most surface mildew and surface mold on non-porous surfaces like tile, glass, and sealed stone. It dries without leaving a toxic residue. For porous surfaces like drywall or wood, do not DIY the cleaning. Mold on porous materials requires professional treatment, and painting over it does not remove it. If you are seeing mold on drywall in Tampa’s humidity, you are likely already in the territory of needing professional mold remediation in Tampa.
For general moisture-prone areas: Concrobium Mold Control is a non-toxic product that leaves a protective film on surfaces and is widely considered safe for use around pets and children when applied according to label instructions. It is not a bleach product and does not off-gas in the same way. Always ventilate the space during application and keep pets out until the surface dries.
What to avoid: Bleach on porous surfaces is ineffective at removing mold roots and introduces respiratory irritants into your home. Standard mold sprays with heavy fungicides sometimes require protective equipment and extended vacating of the room. If a product label says to wear a respirator, it is not the product to use in a home with a crawling one-year-old and a dog that licks the baseboards.
Our technicians carry pet-safe drying agents and choose lower-decibel settings during nap and school hours where the equipment allows. The same principle applies to the products we use when drying a home after fire damage restoration in Tampa, since the cleaning phase after a fire often interacts with surfaces children touch. The choices you make between professional visits matter, and safer options are not hard to find.
How to Document Inspections in a Way That Actually Helps
A folder full of undated photos is better than nothing, but not by much. When an insurance adjuster or a restoration contractor walks through your home after a water event, what they need is context: what did this area look like before, and when did you last check it. Here is a documentation system that takes thirty seconds per check and produces genuinely useful records.
The format: One photo per area, taken from the same angle every month, with a one-sentence note that includes the date, the area, and the condition. “Feb 4, ceiling by front window, dry and clear.” That is the entire entry. Done.
What to photograph: The areas most likely to show early water damage: ceiling corners, the area around the AC air handler, under-sink cabinet floors, the water heater area, and the baseboards in rooms that share a wall with a bathroom or laundry. Same five spots every month. The consistency is what makes the record valuable.
Why it matters for insurance: When you can show an adjuster a series of dated photos showing a dry, undamaged ceiling in March, April, and May, and then a stained ceiling in June after a storm, you have built a timeline that supports your claim. That is worth real money. Without that baseline, the adjuster only sees the current damage and has less reason to conclude it was sudden and accidental.
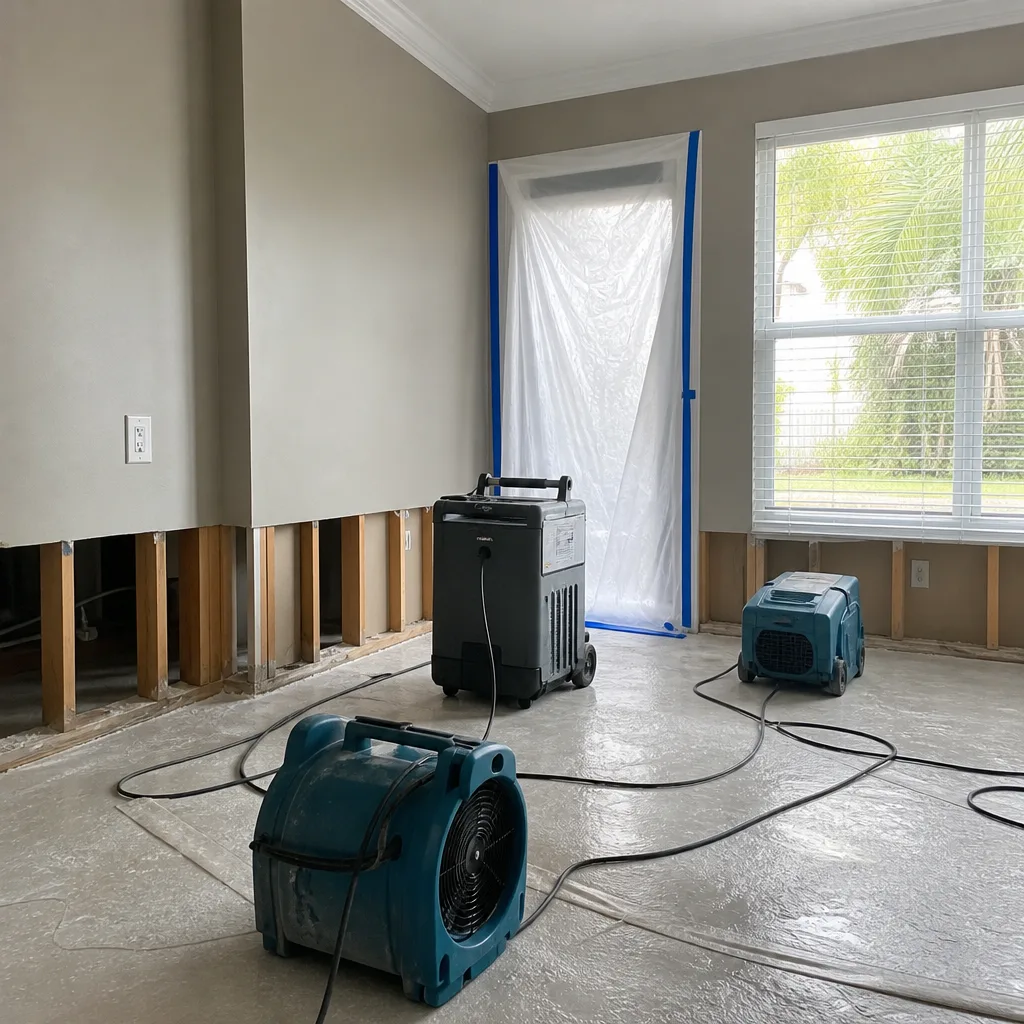
Why it matters for restoration: When our team arrives at a Tampa home, one of the first things we do is look for the tide mark, the line water leaves on a wall. It is the first thing our technicians look for on every job. Having your own visual record of the area before the event helps us identify exactly where the water traveled, and how far. Drying past the tide mark is how we protect framing and prevent secondary mold. Your photos give us the “before” we would otherwise have to infer.
Three Maintenance Items That Keep a Restoration Warranty Valid
If you have had professional water damage restoration work done, or if you are considering it, the warranty on that work has maintenance conditions. These are not fine-print traps. They are the three things that determine whether a restoration holds up over time. At Tidemark Water Damage Tampa, our 365-Day Done Right Promise means if the restoration is not done right, we make it right. But the promises only carry their weight when the homeowner’s basic maintenance continues after the crew leaves.
- Keep the area dry. A restoration warranty covers the work we did, not new water introduced into the area. If a new leak occurs, that is a new event. The maintenance task here is simple: if the restored area gets wet from a new source, that gets addressed immediately, not when you get around to it. Document the new leak, stop the source, and call.
- Do not obstruct the ventilation. Many restoration projects leave behind improved ventilation pathways, whether it is a specialty baseboard vent, a crawl space fan, or a dehumidifier with specific drainage requirements. Covering them, blocking them with furniture, or unplugging them because the light is annoying reverses the drying work. Check monthly that any equipment or ventilation remains operational and unobstructed.
- Maintain the drainage around the foundation. Restoration work that includes structural drying is only as good as the drainage it relies on. Downspout extensions, French drains, and grading corrections installed during a restoration project need to stay in place and clear. Leaves and pine needles clog outlets within a single Tampa season. Check them during the wet-season prep.
These three items come up on nearly every warranty issue we evaluate. The homeowner who keeps these items on their monthly list rarely needs to test the warranty at all.
Common Mistakes to Avoid
- Ignoring the water bill because the cost did not change. In Tampa, water usage is billed in tiers. A slow leak can increase usage without dramatically changing the monthly amount you pay, especially if you are already in a higher usage tier. Always compare gallons, not dollars. A 2,000-gallon unexplained increase is a leak until proven otherwise.
- Caulking over a moldy surface. Caulk does not kill mold. It traps it. The mold continues growing behind the caulk and into the material behind it. Clean the surface first, dry it completely, then re-caulk. If the mold has reached the drywall or wood behind the caulk, you are in professional territory.
- Assuming a ceiling stain that dried out was a one-time event. Water stains do not heal. A stain that appears after a storm and dries in days means water got into the cavity. It will get in again during the next storm, and each time the damage in the cavity expands. A dried stain is still an active access point.
- Running the AC with a clogged drain line until water pours from the ceiling. In Tampa’s cooling season, the AC drain line clogs in weeks, not months. Waiting for the overflow is waiting for ceiling damage directly below the air handler. Monthly vinegar flushes take one minute.
- Not checking the exterior because it is too hot or raining. Tampa’s wet-season heat makes outdoor inspection genuinely unpleasant. That is exactly why soffit vents, downspouts, and grading go unexamined from June to October. An early morning check before the heat builds solves this.
- Using bleach on visible mold. Bleach’s active ingredient, sodium hypochlorite, is mostly water. On porous surfaces it evaporates quickly while the water soaks in, feeding the mold roots. It also creates respiratory irritants. Use vinegar, Concrobium, or call a professional. The decision tree here determines whether the problem comes back in three weeks.
- Documenting with a folder of unsorted photos. A phone album with 400 photos from three years, no dates, no locations, and no notes is not documentation. It is a memory. The adjuster does not need your memories. They need your timeline. Five dated photos a month is enough.
When to Call a Professional
Some situations are beyond maintenance. Call a professional when you encounter any of the following: water is actively entering the home and you cannot stop the source within minutes, the leak is inside a wall or ceiling cavity you cannot access without cutting, you smell a musty odor that persists after cleaning, you see visible mold covering more than about ten square feet, the water event involved sewage or flood water, your water bill shows an unexplained jump of 2,000 gallons or more, or a ceiling stain is actively growing while you watch it. In those situations, the right move is a professional assessment, a written scope, and a clear price before any work starts. Tidemark Water Damage Tampa offers free estimates in Tampa. Call (850) 828-8896 and a real person answers, day or night.
Frequently Asked Questions
Tampa homeowners should perform a five-minute walkthrough every month, year-round, focusing on ceilings, under-sink cabinets, baseboards, and exterior drainage. The monthly cadence matters because it establishes a visual baseline, so a change caused by a new leak or a slow failure is immediately obvious against what you saw four weeks before.
The most common hidden water damage issue in Tampa is a clogged AC condensate drain line during the cooling season, which backs water into the air handler and damages the ceiling below before most homeowners notice. A close second is a slow slab leak during the dry season, which can run undetected for months because low humidity evaporates surface evidence before it accumulates.
Homeowners insurance typically covers sudden and accidental water damage, like a burst pipe, but many policies exclude or limit coverage for damage caused by slow leaks that occurred over weeks or months. The exact coverage depends on your policy language. This is why documenting monthly inspections with dated photos matters: it helps establish the timeline for your claim and supports the case that the damage was sudden rather than ongoing.
The most reliable homeowner check for a slab leak is comparing your water usage in gallons to the same month last year, looking for an unexplained increase of 2,000 gallons or more. Two physical checks also help: walking the floor in bare feet to detect warm spots on tile, and looking for cracks that appear in the floor slab or in the walls above the foundation line. If you suspect a slab leak, shut off all water sources and watch your water meter. If it is still moving, call a professional.
Most restoration warranties, including the 365-Day Done Right Promise from Tidemark Water Damage Tampa, stay valid when the homeowner keeps the restored area dry, does not obstruct any installed ventilation or equipment, and maintains the drainage around the foundation. New leaks are new events; they do not void the warranty on the prior work, but they do need to be addressed promptly to prevent compounding damage.
You can safely clean surface mold on non-porous surfaces like tile, glass, and sealed stone using a vinegar-water solution or Concrobium. You should not attempt to clean mold on porous surfaces like drywall, wood, or insulation yourself, because the mold roots penetrate the material and surface cleaning does not remove them. For mold covering more than about ten square feet, or any mold on porous surfaces, call a mold remediation professional in Tampa for an assessment.
The Bottom Line
Tampa’s water damage risks do not pause when the afternoon thunderstorms stop. The wet season tests your drainage, your roof penetrations, and your AC system under maximum load. The dry season tests your attention, because slow hidden leaks run silent and clean up their own surface evidence. The fix is a simple monthly ritual: five minutes, the same spots, a dated photo and a one-sentence note each time. Combine that with pet-safe product choices and a clear understanding of what your restoration warranty requires, and you shift from reacting to water damage to preventing it. When prevention is not enough, a phone call to (850) 828-8896 gets you a real person and a free estimate, with a written price before any work starts.
Written by Rick Sumner, Owner at Tidemark Water Damage Tampa, serving Tampa since 2006.
See the difference
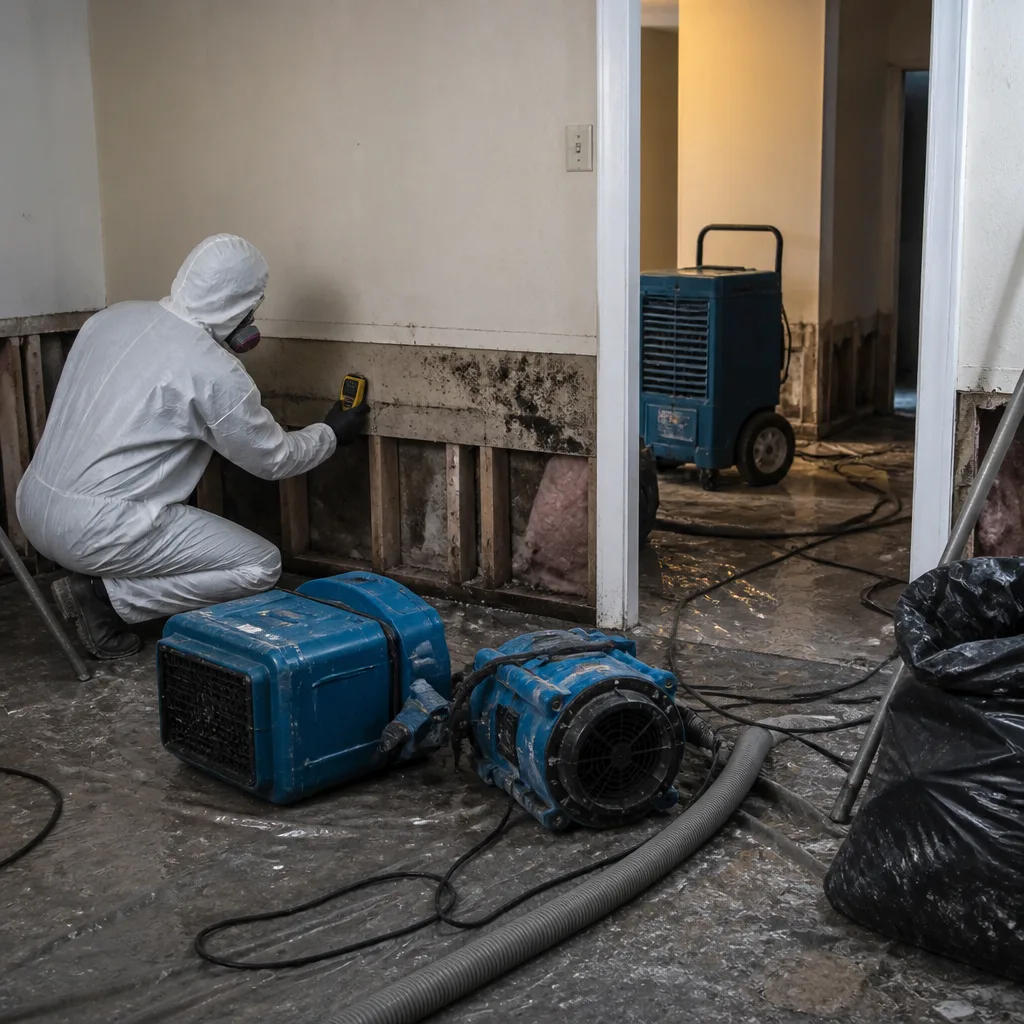 Before
 After
After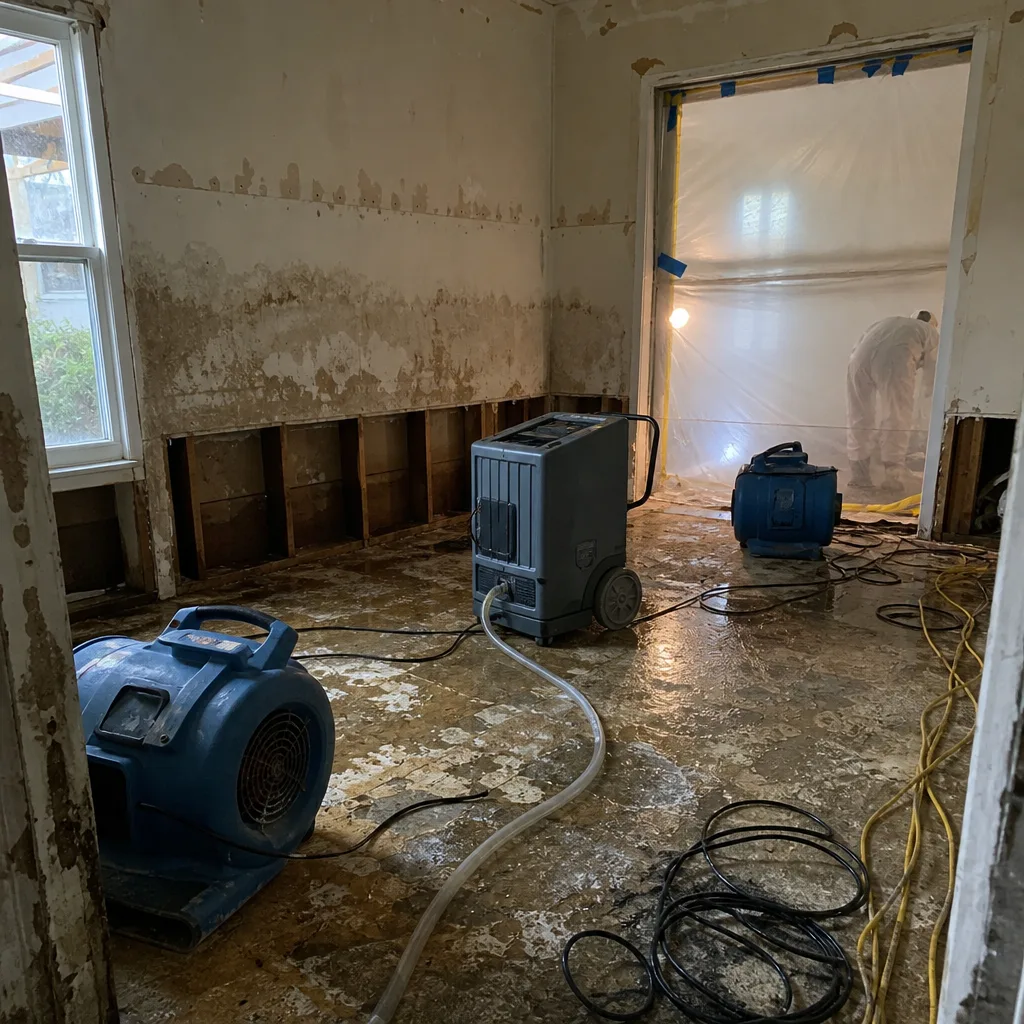 Before
 After
After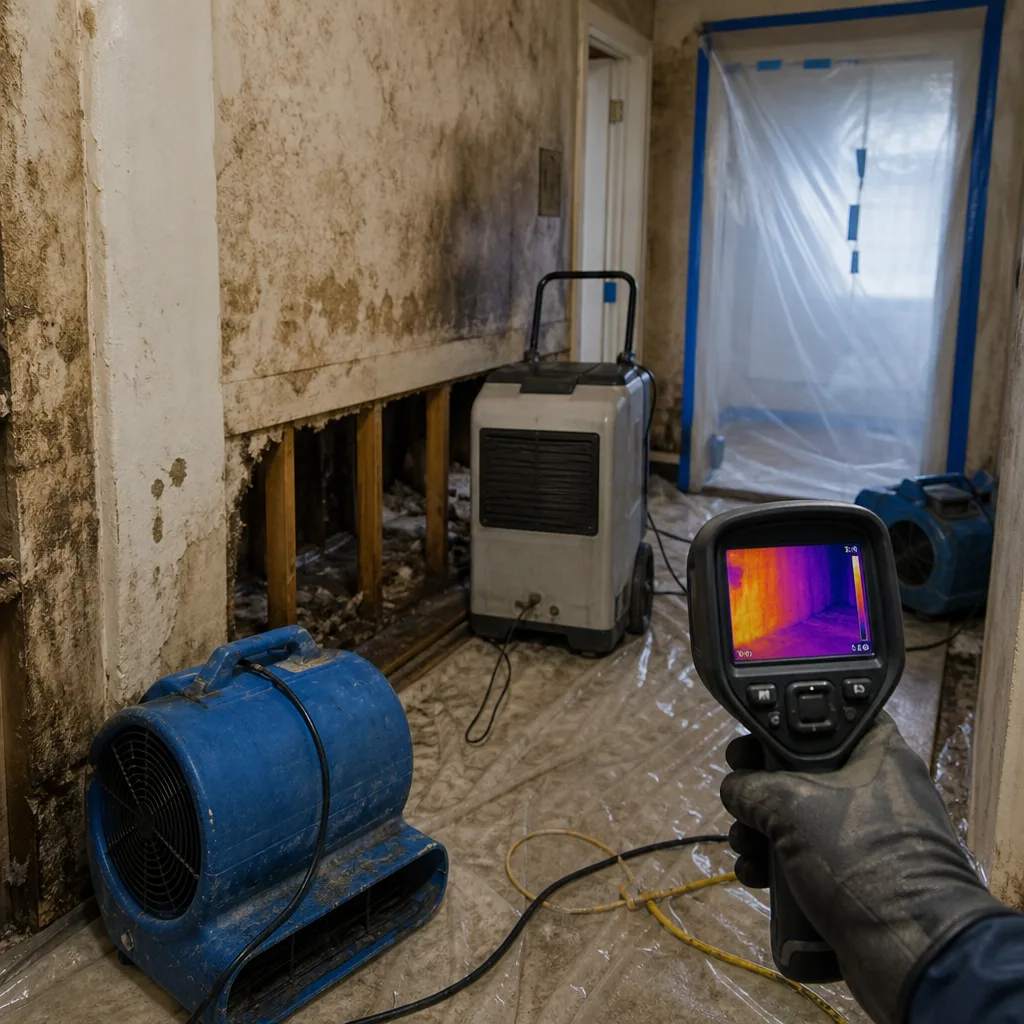 Before
 After
After