
Last updated October 16, 2026
 Water damage drying
 Fire & smoke cleanup
 Mold remediation
 Storm response
 Sewage cleanup
 Reconstruction
Free visual inspection and a written scope of work before any mitigation begins - photos, moisture readings, and drying logs go in your claim file
The scope we write is the scope we bill. Anything new gets shown to you, in writing, before we touch it.
Get your free estimateDIY vs Professional Damage Restoration: The Tampa Homeowner’s Decision Guide
A shop vac and three box fans will remove visible water from a Tampa bathroom floor in about four hours. They will not lower the moisture content of the concrete block wall behind the vanity. That wall, left at 28% moisture content, will begin supporting mold colonies within 48 to 72 hours, and in a Tampa summer with 80% relative humidity, the timeline compresses even further. This guide draws a precise line between the work you can safely handle yourself and the work that requires professional equipment, moisture logging, and a written scope of work to protect your home’s long-term structure. For how to hire a damage restoration contractor in Tampa, see our step-by-step guide. We’re going to walk through the exact decision points, the insurance implications, and the Tampa-specific factors that national guides never mention.
Quick Answer
DIY is appropriate for surface water extraction, content removal, and the first 24 hours of drying when the water is clean and the affected area is small. Professional restoration is required when water has entered wall cavities, subflooring, or concrete block, when the water source is a Category 2 or Category 3 contamination, or when visible mold is already present. In Tampa’s climate, the window for safe DIY drying is shorter than national guidelines suggest because sustained humidity above 70% accelerates mold growth from 72 hours to as few as 48 hours in enclosed spaces. The deciding factor is not your skill level. It is whether you have the instruments to measure moisture behind the surface and the drying capacity to hit the number that matters structurally.
Restoration work we handle
Table of Contents
- The Real Boundary: Surface vs. Structural Drying
- What a Competent DIY Effort Actually Accomplishes
- What Professional Drying Equipment Does Differently
- Why Tampa’s Climate Shortens Your DIY Window
- The Insurance Documentation Risk of DIY
- Six Scenarios: When to DIY, When to Call First
- Your Step-by-Step DIY First Response (Before Calling)
- How Tampa Home Construction Changes the Math
The Real Boundary: Surface vs. Structural Drying
The DIY-versus-professional decision is not about how handy you are. It is about a distinction that almost no homeowner is taught: the difference between surface drying and structural drying. Surface drying means removing water you can see and lowering the air’s humidity until the floor feels dry to the touch. Structural drying means pulling moisture out of building materials: concrete block, gypsum board, subfloor plywood, the bottom plates of interior walls, and the cavity spaces between them. A room can feel dry within a day and still hold enough moisture inside a wall assembly to support mold growth for weeks. We have walked into Tampa homes where the floor was dry, the baseboards looked fine, and a moisture meter read 32% moisture content two feet up the drywall from the slab line. That water traveled upward through capillary action from the slab. No amount of box fans addresses that.
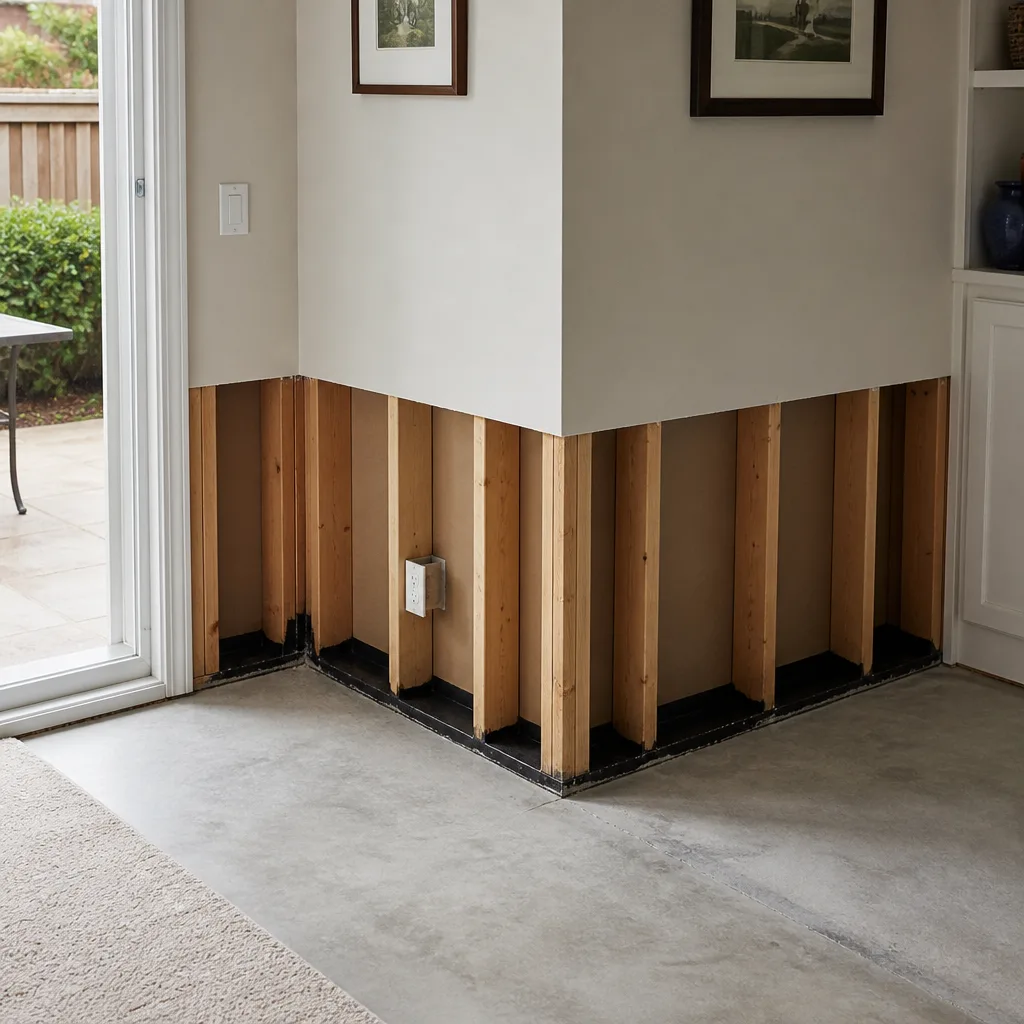
Here is the boundary in plain language. Remove standing water with a wet-dry vacuum: that is DIY-appropriate. Move furniture and contents out of the affected room: DIY-appropriate. Pull up saturated carpet pad: DIY-appropriate, with gloves and the understanding that saturated pad is usually discarded. Cut into drywall to expose a wet wall cavity: that crosses into professional territory, because you have just opened a space that needs controlled airflow, targeted evaporation, and ongoing moisture measurement. If you open a wall and do not dry it completely, you have made the problem worse, not better. The wall cavity becomes a mold incubation chamber that is now open to your living space. The line is not about effort. It is about whether you can verify that you finished the job.
Before you start any work, walk the perimeter of the affected area with a simple question: where did the water go that I cannot see? Water runs downhill, but it also wicks upward, outward, and into porous material. In a Tampa block-construction home, water that pools on a slab does not just sit there. It saturates the bottom plate of any nearby wall, climbs into the drywall, and seeps under the flooring. The visible puddle is the smallest part of the problem. That principle, find exactly where water traveled and dry past it, is the reason professional water damage restoration in Tampa exists as a trade. The water you cannot see is the water that costs you a bathroom remodel six months from now.
What a Competent DIY Effort Actually Accomplishes
Let us be fair to the homeowners who tackle this work themselves. A fast, focused DIY response in the first hours after a leak can prevent tens of thousands of dollars in secondary damage, and there is a real set of tasks that you should absolutely do yourself, even if you plan to call a professional later. The key is doing the right tasks in the right order without equipment you do not own.
What you can safely and effectively do yourself:
- Stop the water source. Shut off the supply valve at the leak, or at the main shutoff if you cannot find a localized valve. In Tampa homes built before 1990, the main shutoff may be a brass gate valve that requires a water key from the meter box. Know where yours is before you need it.
- Remove standing water. A 5-gallon wet-dry vac with a foam sleeve for water is the right tool. Work in passes, emptying frequently. A shop vac removes surface water effectively but does not extract water trapped in pad or subfloor.
- Move contents out. Furniture, boxes, electronics, rugs, anything on the floor that holds water or blocks airflow. Raise furniture onto blocks or foil-wrapped bricks if it cannot leave the room. This is the highest-value content preservation step you can take, and it prevents secondary damage claims from becoming your problem.
- Remove saturated floor coverings. Carpet and pad that are soaked through should be cut and removed, not dried in place. Saturated pad acts as a sponge, and the backing breaks down rapidly once wet. You are not trying to save the pad. You are trying to expose the slab or subfloor beneath.
- Set up airflow. Box fans and ceiling fans move air across surfaces, which accelerates evaporation at the surface level. Position fans to blow across wet surfaces, not into them. Do not point a fan into a wall cavity. You are not drying the cavity. You are creating a warm, dark, moist environment inside it.
- Document everything. Photograph the standing water before you touch it. Photograph the source, the affected area, and every step you take. This becomes the record you show your insurance adjuster, and it is the one part of DIY that directly protects your claim.
If you complete those tasks within the first 24 hours of a clean-water event, you have done what any professional would declare an appropriate homeowner response. You have limited the damage, preserved the contents, and prepared the space for assessment. What you have not done is dry the structure. That is the next section.
In our experience as a Tidemark Water Damage Tampa home restoration team, we have seen homes where a homeowner’s first 24 hours of work saved their entire kitchen, and homes where the same effort masked a wall cavity mold problem that surfaced eight months later. The difference was never effort. It was whether someone verified moisture readings behind the surface before declaring the job done.
What Professional Drying Equipment Does Differently
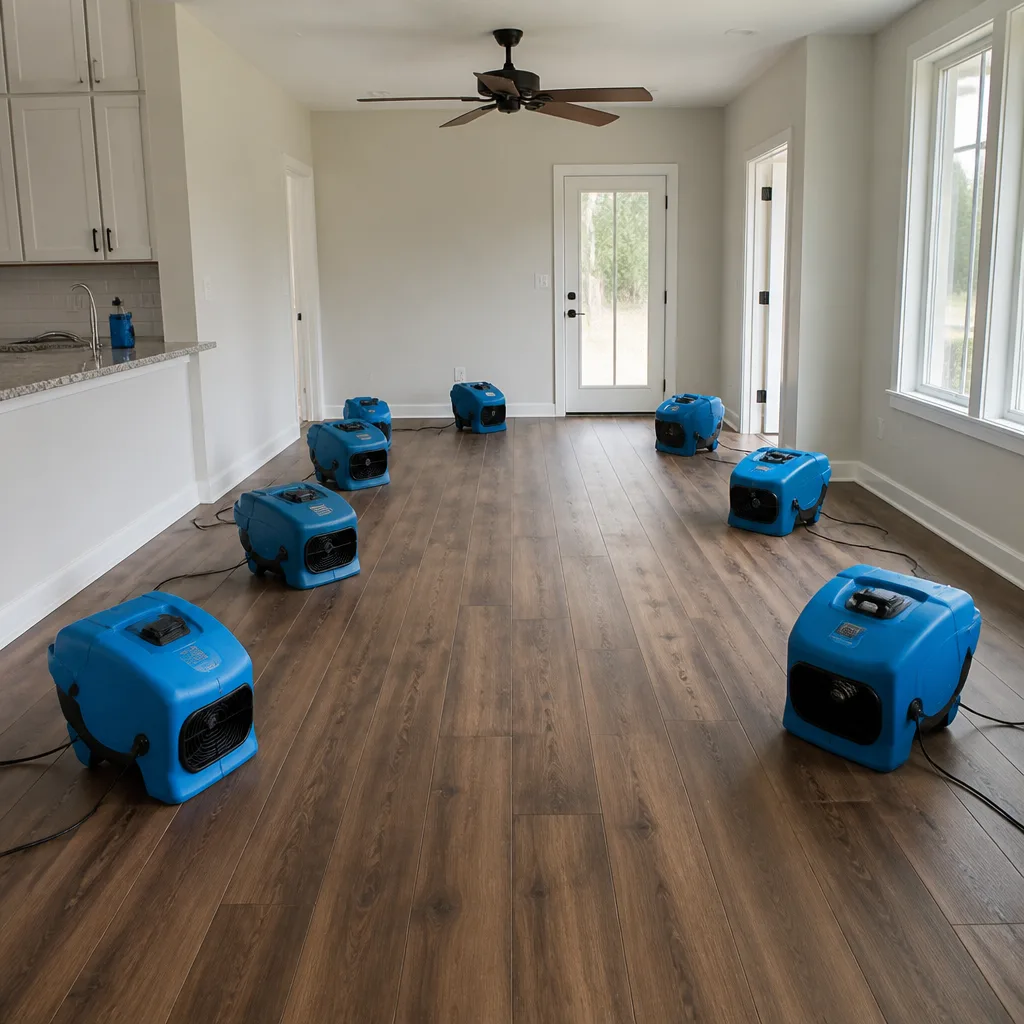
If you have ever stood in a room with a professional drying setup running, you noticed the difference immediately. It is not subtle. Industrial drying equipment changes the physics of the room: it lowers the air’s capacity to hold moisture, which causes the building materials to release their moisture faster. The term used in the industry is grains per pound, or GPP. A grain is a unit of moisture, one seven-thousandth of a pound. You can hold roughly 14 grains per pound of air in an air-conditioned Tampa room. A professional low-grain refrigerant dehumidifier, the XPOWER or B-Air units we run on Tampa jobs, pulls that number down to 35 to 40 grains per pound at a rate that a consumer dehumidifier from a hardware store cannot match. The result is not just faster drying. It is more complete drying.
Here is the practical difference. A consumer dehumidifier rated for a basement removes about 30 pints of water per day under ideal conditions. A single professional B-Air unit removes 130 to 210 pints per day depending on the model and conditions, and on a structural drying job we typically run multiple units. The professional unit also runs hotter, pushing air that has been dehumidified back across wet materials at temperatures that accelerate evaporation without overshooting the safe operating range for the material. That combination of volume and low GPP is what draws moisture out of a block wall. A box fan cannot do it at all. It is moving damp air around and hoping for the best.
There is another piece of equipment that matters here: the moisture meter. A professional technician does not dry a structure by feel. We log moisture readings in the affected area and in the surrounding unaffected areas to establish a baseline, called the dry standard. We then place drying equipment based on those readings, reposition it as the job progresses, and do not remove equipment until the affected materials read within a few percentage points of the unaffected baseline. The reading itself is the deliverable. If a homeowner cannot produce moisture readings before and after their DIY dry-out, they are essentially guessing. The guess might be right. In a Tampa home with a slow leak inside a ground-floor wall, the guess is usually wrong, and the wall discovers it a few months later.
IICRC-certified technicians also document the entire drying process with daily logs: temperature, relative humidity, GPP, moisture content readings, and equipment placement. That log is a legal document. It is what a homeowner’s insurance adjuster expects to see when reviewing a mitigation invoice or evaluating a claim for secondary damage. It is also what a future homebuyer’s inspector might ask for if a sale surfaces a question about past water damage. The documentation is part of the professional service, not an optional add-on.
Why Tampa’s Climate Shortens Your DIY Window
Most national water damage guides are written for a generic, moderate climate. Tampa is not moderate. Tampa’s climate is hot, humid, and sustained: average summer relative humidity sits around 77% to 80%, dew points stay above 70°F for months at a time, and the air inside a typical home without the AC running will hold moisture levels that make structural drying nearly impossible. The mold colonization timeline, the window between water exposure and active mold growth, is typically cited as 48 to 72 hours. That is the national standard. In Tampa, during the wet season from May through October, poorly ventilated spaces with water damage can support active mold colonies within 48 hours. In some closed wall cavities, particularly on the north side of a home that never gets direct sun, we have seen visible mold in less than 48 hours.
The practical implication for a Tampa homeowner is simple: your DIY window is shorter than any guide written for Atlanta, Charlotte, or Dallas tells you. If water damage happens in July and you are relying on box fans and open windows, the open windows are introducing humid air that slows your evaporation and leaves the room at a relative humidity that mold finds perfectly comfortable. Running the central AC helps, but your AC is not designed to dehumidify a water-damaged room. Its coil temperature and airflow are set for comfort cooling, not structural drying. The AC will bring the room down to 50% RH at best, and a saturated wall cavity will still hold its own microclimate at 80% RH or higher.
There is a second Tampa climate factor that most homeowners never consider: the daily condensation cycle. In a concrete block home, thermal mass keeps wall cavities cooler than the surrounding air during the day, especially on walls that do not receive direct sun. When warm, humid air from outside infiltrates a wall cavity through unsealed penetrations, it hits that cooler block surface and condenses, adding moisture to a space that may already be wet from a leak. This is why a slow leak behind a kitchen sink can produce mold in a Tampa wall cavity even when the visible leak seemed minor. The cavity is not just holding the leak water. It is also collecting condensation daily. Professional structural drying must overcome both sources of moisture before the wall can be closed back up.
If you are reading this during Tampa’s wet season and you have active water damage, the honest assessment is that your structural drying window is about 48 hours. Surface drying, moving contents, stopping the source: do those immediately. Structural drying: call someone who can verify the moisture numbers before the window closes. The cost of professional equipment is real. The cost of a mold remediation job inside a closed wall cavity six months from now is always higher.
The Insurance Documentation Risk of DIY
Homeowners routinely underestimate this part. Your insurance policy covers sudden and accidental water damage, but it also includes language about your duty to mitigate damages. You are expected to take reasonable steps to prevent further loss after an incident. That is the part homeowners remember. What they forget is that the insurer will evaluate those steps when you file a claim, and a poorly executed DIY dry-out can be used to reduce or deny your payout. A claim for secondary damage, meaning the long-term consequences of moisture that was not properly addressed, is exactly where adjusters look hardest at homeowner mitigation.
The argument the adjuster will make goes like this: the homeowner experienced a covered water loss, the homeowner performed their own cleanup, the homeowner did not use professional drying or receive professional moisture verification, and therefore any subsequent mold, warping, or structural degradation is the result of inadequate mitigation rather than the original covered event. Whether that argument succeeds depends on the specifics of your policy and the severity of the original loss, but it is a standard position. We have seen it applied to claims where the homeowner did a genuinely diligent DIY job but could not produce a single moisture reading. The absence of documentation becomes the opening the adjuster needs.
Professional mitigation changes this dynamic because it converts your loss from an undocumented event into a documented process. A professional water damage company records the initial moisture readings, the dry standard, the equipment used, the daily log readings, and the final moisture verification. That file answers the adjuster’s questions before they are asked. The adjuster sees a defensible mitigation process, not a gap. If a secondary damage claim arises later, the restoration company’s documentation establishes that the original loss was dried to an industry standard. That is a much stronger position than a homeowner’s statement that the floor felt dry.
Here is the practical advice. If you are going to file an insurance claim for the water damage, photograph everything before you move anything, including the standing water in place. Keep a written log of what you did and when. Save receipts for any equipment or supplies you purchase. And if the affected area is larger than a single room or the water has been present for more than 24 hours, call a professional mitigation company before you do your DIY work, not after. The professional assessment itself becomes part of your claim file, and the cost of the assessment is often covered within the mitigation portion of your claim. You are not choosing between DIY and professional. You are choosing whether your documentation will survive an adjuster’s review.
When the time comes to file, a water damage restoration in Tampa provider who photographs the cleanup and provides a written scope before work starts gives you a claim file that is hard to dispute. That is why image documentation matters as much as drying performance. The insurance conversation is won or lost in the paperwork.
Six Scenarios: When to DIY, When to Call First
Here is the decision framework in plain terms, split into the three situations where DIY is the right first step and the three where calling before you touch anything protects both your home and your claim.
DIY is the right first step when:
- Clean water, small area, same-day discovery. A supply line under a sink fails, water covers a bathroom floor, you notice it within a few hours, and the water never touched drywall above the baseboard. Remove the water, move contents, set up fans, and monitor. If the floor feels dry within 24 hours and there is no visible warping, you can reasonably stop there, with documentation.
- An appliance leaks onto tile or concrete with no wall contact. A washer overflow in a laundry room with tiled floor and block walls, caught quickly, with water contained to the floor. Extract, dry, and check the base of the block wall with a simple two-prong moisture meter if you have one. The water moved down, not into porous materials that you cannot access.
- A roof leak during a single storm that you catch while the storm is still falling. You place a bucket, move contents, and after the storm passes, check the ceiling for staining. If the drywall is wet but not sagging, and the leak is small enough that you are certain about the source, you can cut a small inspection hole, dry the cavity with a fan, and reassess after 24 hours. If the roof sheathing is wet, you are now outside DIY scope because the framing is at risk. Call a roofer and a restoration professional.
Call before touching anything when:
- The water is gray or black. Any water that came from a washing machine discharge, a dishwasher drain line, a toilet overflow, a sewage backup, or outdoor flooding is Category 2 or Category 3 water. The contamination is not visible; the pathogens are microscopic, and drying the area without sanitization spreads the contamination. This is not a DIY task. The health risk is real, and the waste classification determines how the affected materials are treated.
- Water has been present for more than 24 hours, or the source is unknown. If the water has been there long enough that the drywall is soft or the baseboards are separating, structural damage has already begun. You cannot reverse it by drying. You also face the Tampa mold window: more than 24 hours in this climate means active microbial growth is plausible even before you see it. A professional assessment identifies what is salvageable and what is not, and the documentation starts the clock for your insurance claim.
- Water is behind walls, under flooring, or in the slab. You know the water traveled beyond the visible surface because you saw it wicking, heard it dripping, or the baseboards show signs of moisture at the bottom edge. You cannot dry what you cannot access. Opening cavities without the equipment to dry them fully creates new problems. This is a professional structural drying job, period.
One of the areas we serve regularly in Tampa includes homes in the neighborhoods around South Tampa and Westchase where slab-on-grade construction is common, and the decision between DIY and professional often hinges on whether the water reached the slab. Want our honest take on your situation before you decide? Call us and describe what you are seeing. We will tell you over the phone whether a professional visit is necessary. The call is free, and the advice is direct.
Your Step-by-Step DIY First Response (Before Calling)
This is the exact sequence we recommend to every Tampa homeowner who calls us while standing in a puddle. It takes most people 45 to 90 minutes, it is safe for a competent adult, and it prepares the space perfectly whether you end up handling it yourself or calling us after. Do these steps in this order.
- Stop the water. Turn off the fixture valve, the appliance valve, or the main shutoff. Do not wait to investigate the source while water is still flowing. Stop it first.
- Cut power to the affected area if water is near outlets or appliances. Flip the breaker for that room or zone. Water and electricity combined are genuinely dangerous, and you do not need to be standing in water and touching a wet switch when you assess the room. If you are unsure which breaker controls the area, shut off the main.
- Photograph everything before you move a single item. Wide shots of the whole room, close-ups of the standing water, and shots of the base of every wall and the affected floor. These photos are your insurance record.
- Remove standing water. Wet-dry vac in slow, overlapping passes. Empty frequently. Do not rush this step: the more water you extract now, the less drying burden falls on the equipment later.
- Move contents out. Everything that touches the wet floor leaves the room. Items that cannot leave get raised onto blocks, plastic totes, or foil-wrapped bricks.
- Remove saturated floor coverings. Pull back carpet, cut out pad, lift any flooring that is clearly saturated. You are exposing the surface beneath so air can reach it.
- Set up airflow and run the AC. Position fans to sweep across wet surfaces, keep interior doors open, set the thermostat to a cooler setting to help the AC dehumidify. Do not open windows if outdoor humidity is above 60%. In Tampa during the wet season, that means keep windows closed.
- Call for a professional assessment if any of these are true: the water was contaminated, the water has been present more than 24 hours, the water is behind walls or under flooring, or the affected area is larger than one room. The assessment gives you the moisture numbers that decide the next step.
If you complete these steps and the situation is a small, clean-water event, you may not need professional equipment at all. If you complete these steps and the situation is larger or contaminated, you have done the mitigation work that preserves your claim and sets up the professional crew perfectly. Either way, you have lost nothing by starting here.
How Tampa Home Construction Changes the Math
Tampa is not a single housing stock. It is a patchwork of construction eras and methods, and the type of home you live in changes the DIY-versus-professional decision in ways that a national guide simply cannot account for. If you own a 1920s bungalow in Seminole Heights, a 1980s block ranch in Carrollwood, and a 2015 frame home in New Tampa, the same water event produces three entirely different damage profiles. Knowing your home’s construction type tells you where the water went before you find the puddle.
The most common Tampa home type is concrete block construction with a slab-on-grade foundation, typically built from the 1950s through the early 1990s. In these homes, water on a floor does not simply soak into a wood subfloor that can be dried from below. It pools on the slab, runs along the surface, and wicks up into any drywall that contacts the floor. The block walls themselves are porous and will absorb moisture at the bottom, which travels upward slowly and releases it even more slowly. A block wall that reads 30% moisture content at the base will take far longer to dry than a wood frame wall with the same reading, because concrete holds more water and releases it at a slower rate. This is the Tampa home where DIY drying most often fails: the floor is dry, the air is dry, and the bottom 12 inches of the block wall is quietly supporting mold growth behind the baseboard.
Newer frame homes, common in New Tampa, Wesley Chapel, and the developments along the I-75 corridor, behave differently. Water from a second-story leak travels inside the floor assembly, soaks the insulation between floor joists, and drips down into the ceiling below. The visible stain on the ceiling is not the extent of the damage; the wet insulation above it is the problem. A homeowner can dry the ceiling surface, patch, and repaint, but the wet fiberglass or cellulose above continues to hold moisture against the framing. This is a hidden cavity problem, and it is exactly the condition that professional equipment with a drying chamber setup addresses. Injectidry systems and similar drying mats are designed to push dry air into cavities like this under controlled pressure, something a fan simply cannot do.
Older wood-frame homes in the historic districts present a different profile still: balloon framing, plaster walls, and original wood floors where the wood itself has been drying and expanding and settling for 80 to 100 years. When these floors get wet, the boards cup and swell, and sanding or replacing historic flooring is expensive and emotionally fraught. In these homes, the priority is removing water from the wood as fast as possible, using targeted extraction and a drying environment that lowers the moisture content evenly to avoid warping. Injectidry mats and professional LGR dehumidifiers do this. A homeowner’s approach of fans and time will produce cupped boards that never return to their original shape. The lesson of Tampa’s varied housing stock is that “dry it out” is not a one-size solution. The construction type decides the drying approach, and the drying approach decides whether your home returns to its pre-loss condition or carries a hidden defect into the future.
Key Takeaways
- Surface drying is DIY-appropriate. Structural drying is not. Removing standing water and moving contents is homeowner work. Drying wall cavities, subfloors, and concrete block requires professional equipment and moisture verification.
- Tampa’s climate compresses the mold window. In the wet season, mold can begin within 48 hours in a closed cavity. Use the faster timeline to make your DIY-versus-professional call.
- Documentation protects your insurance claim. Photos before you touch anything, a written log of your actions, and professional moisture readings create the record your adjuster needs to process the claim without disputing mitigation.
- The water source determines the risk. Clean water in a small area is manageable. Gray or black water, or water that has been present more than 24 hours, should trigger an immediate professional call, not a DIY attempt.
- Your home’s construction type matters. Slab-on-grade block homes, frame homes, and historic wood homes each fail differently when water is involved. Knowing your construction type tells you where the water went before you see damage.
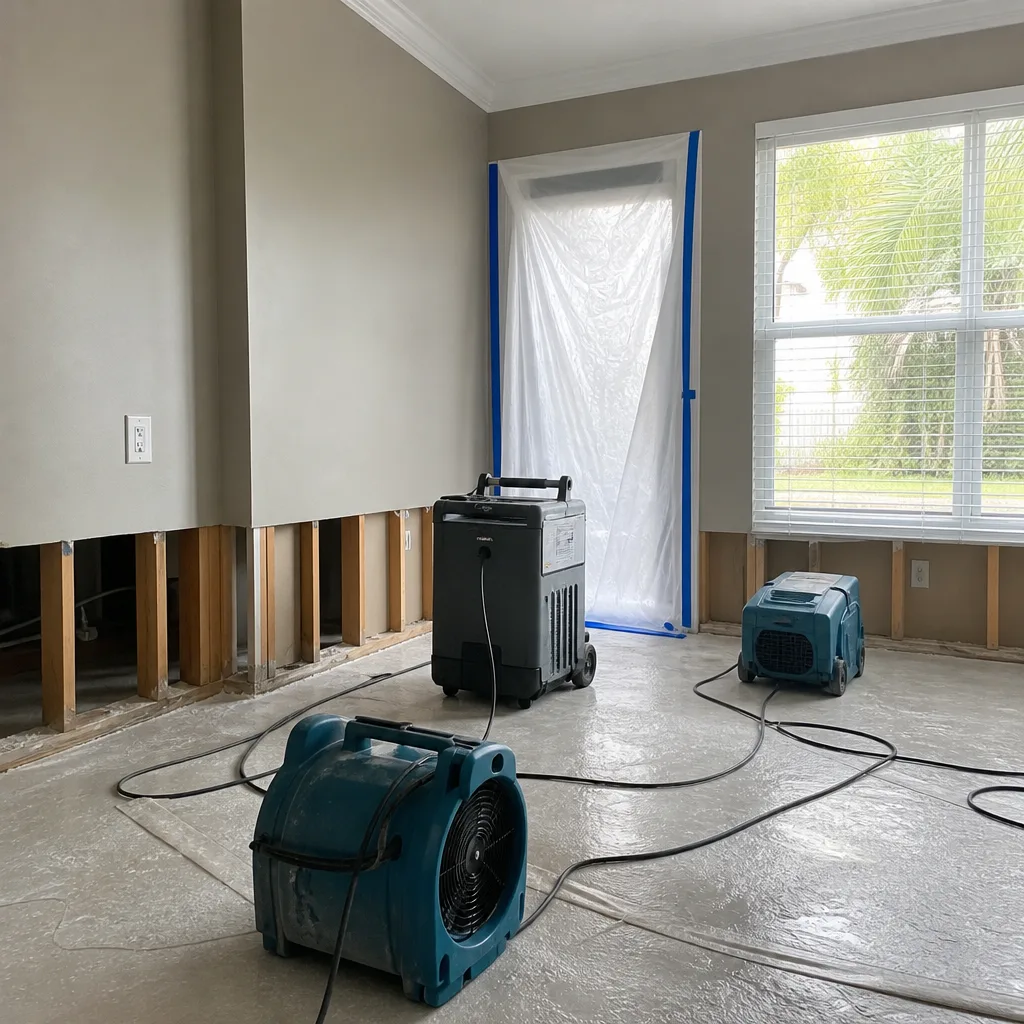
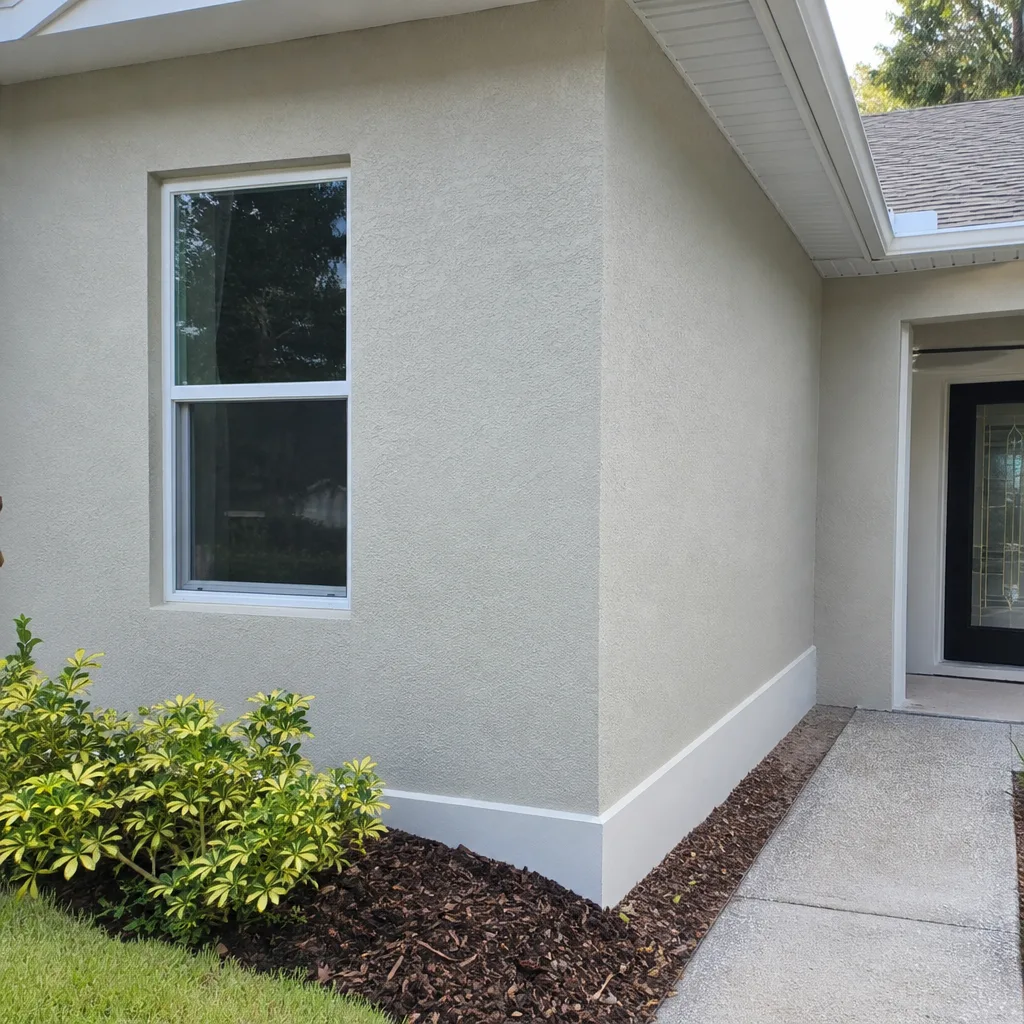
See the difference
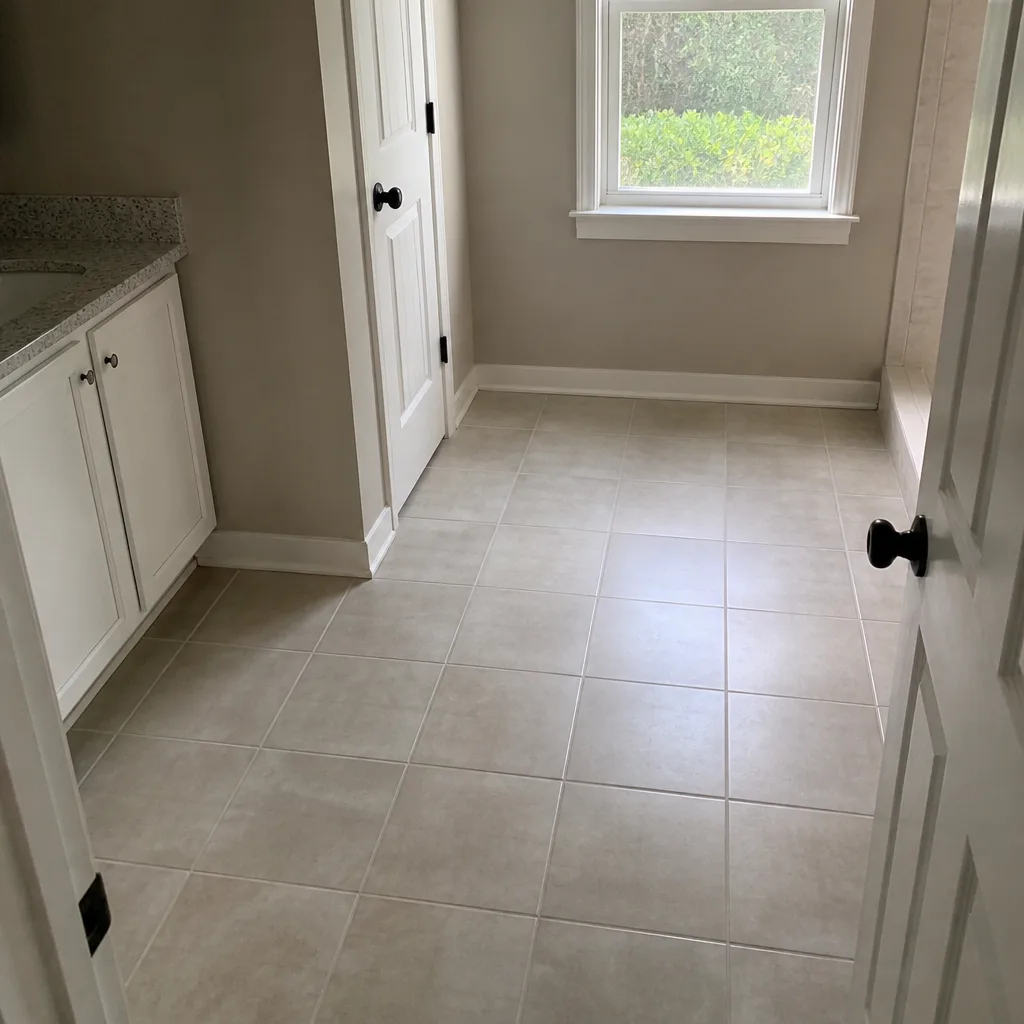
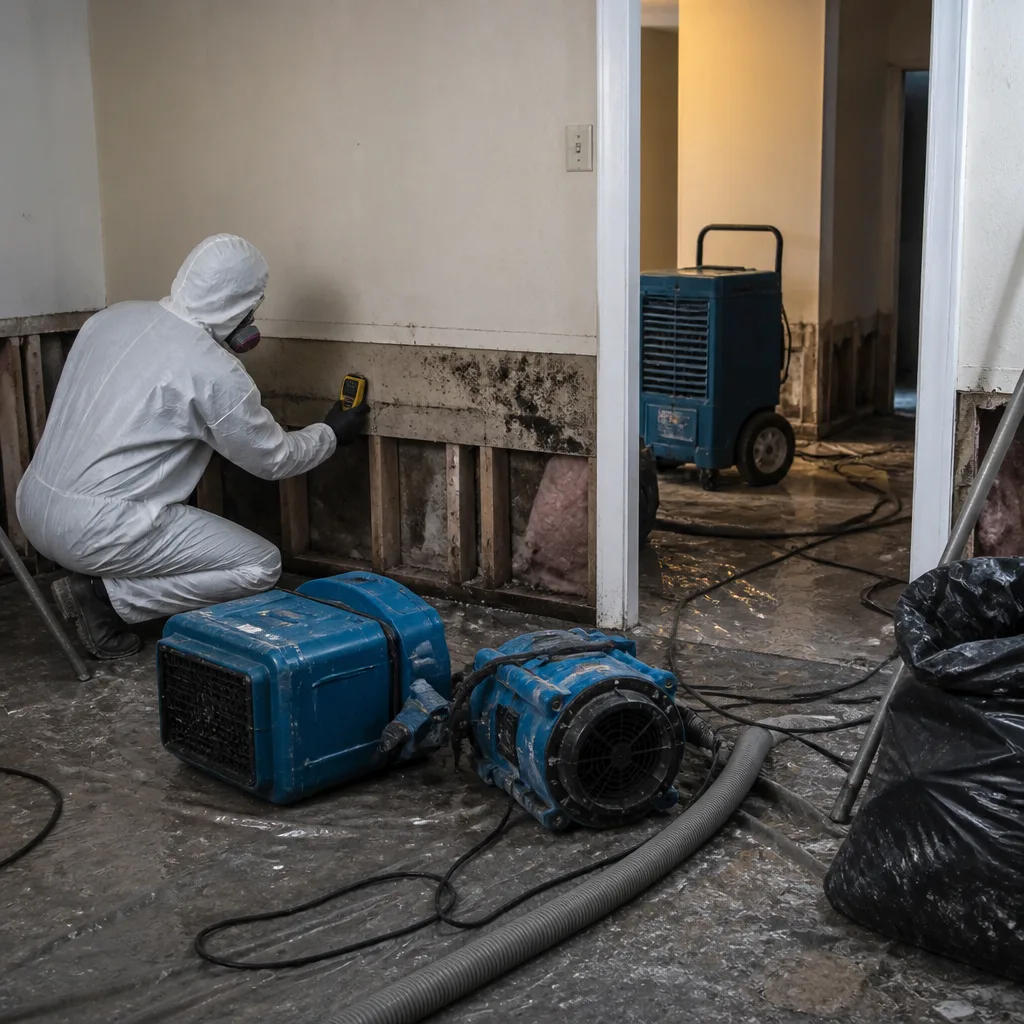 Before
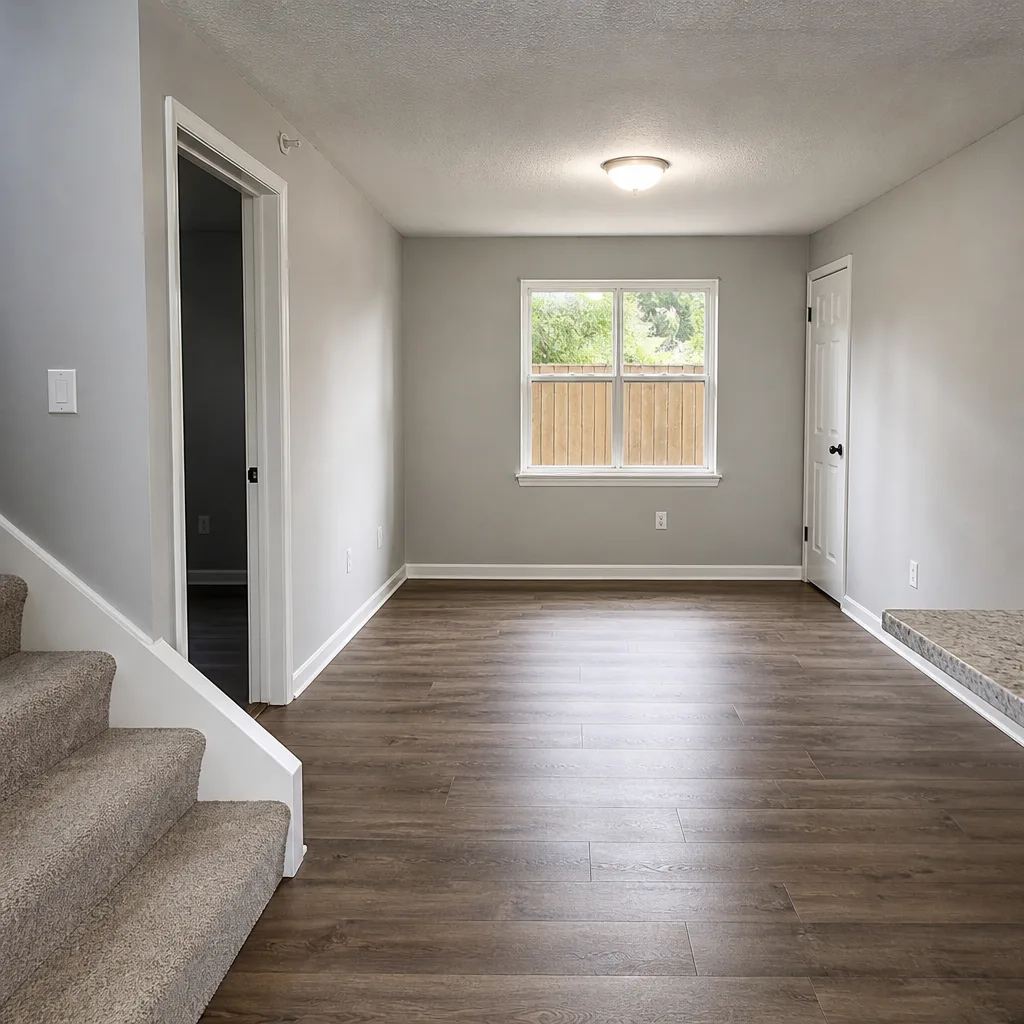 After
After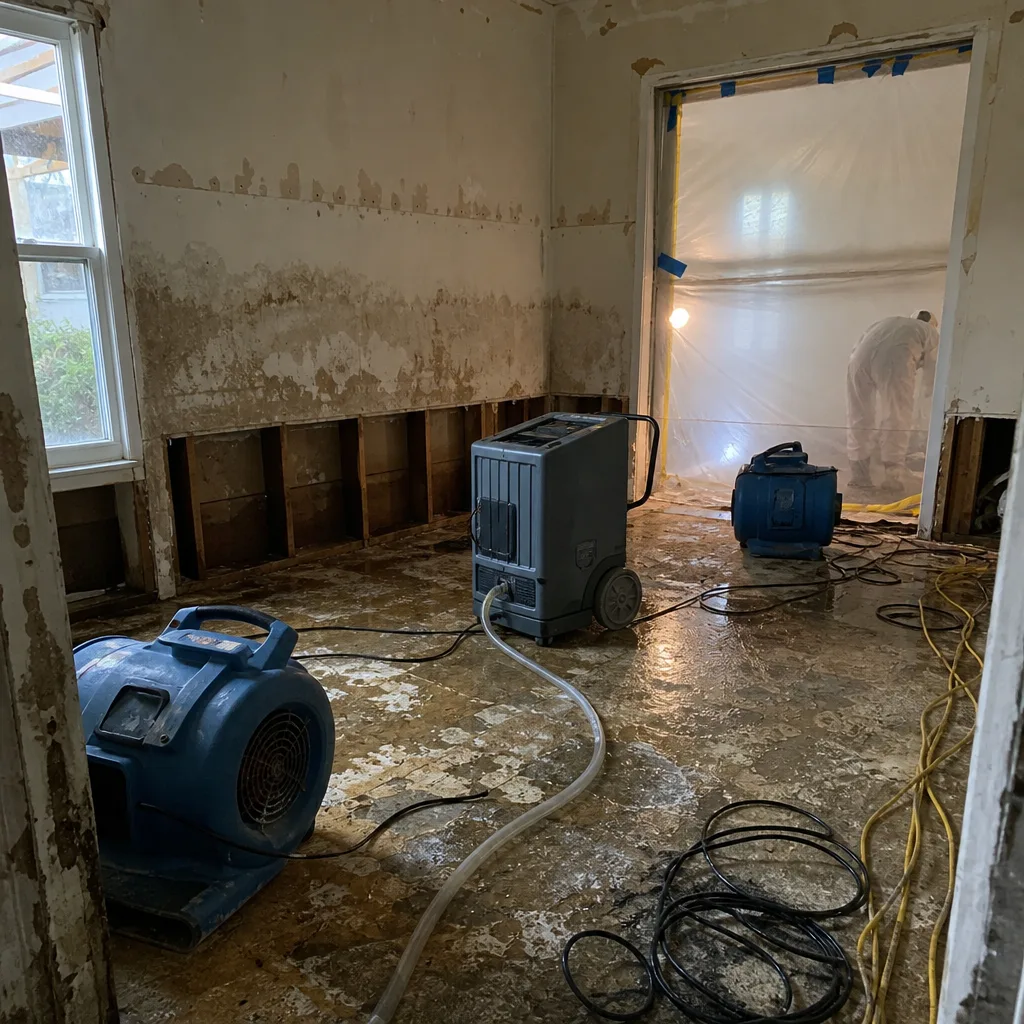 Before
 After
After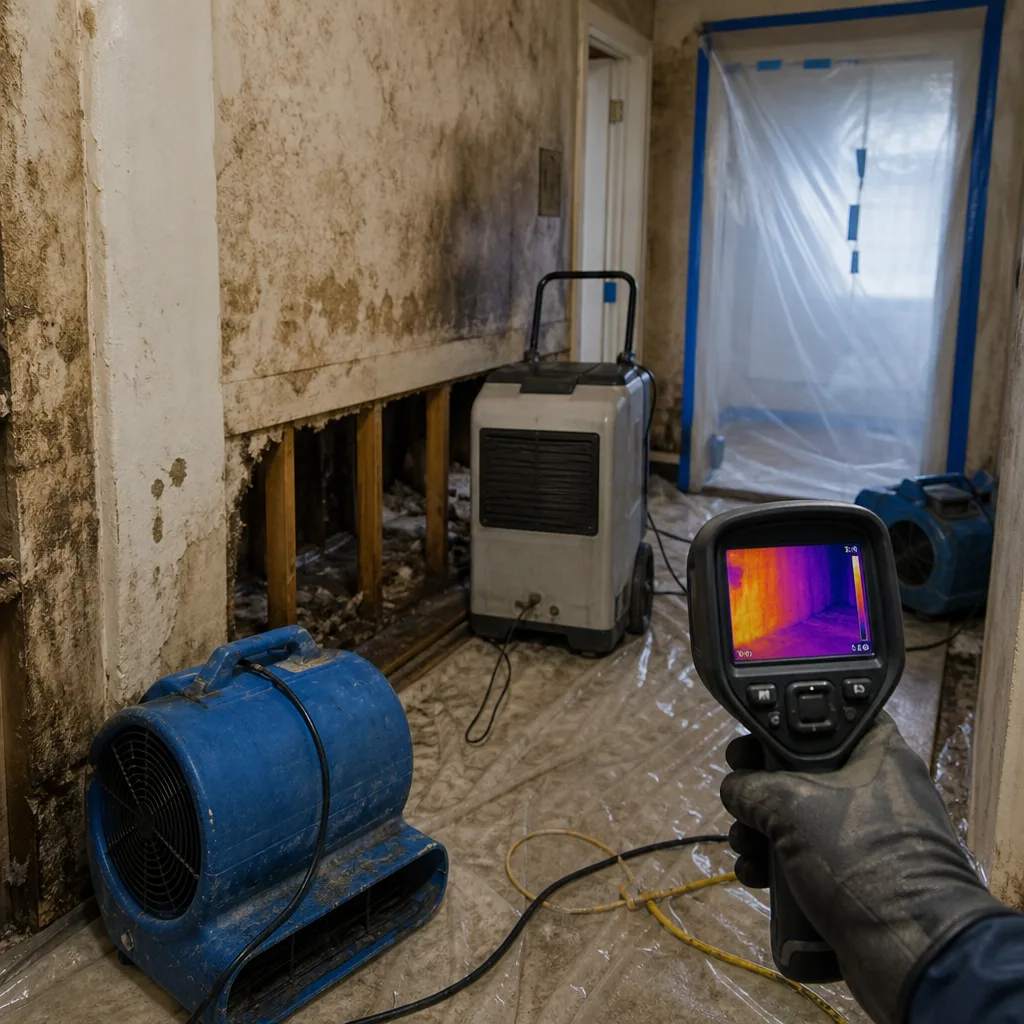 Before
 After
AfterCommon Mistakes to Avoid
- Waiting to see if it dries on its own. In Tampa’s humidity, this is a gamble with poor odds. The visible surface may dry while the hidden cavity remains wet. If you are uncertain, a professional moisture check costs little relative to the remediation that becomes necessary after a wait-and-see approach fails.
- Running a consumer dehumidifier designed for a basement. These units remove a small fraction of the moisture a professional LGR removes per day, and they are not built for the sustained load of a structural drying job. You will run it for weeks and never reach the dry standard.
- Opening windows to speed drying. During Tampa’s wet season, outdoor air is often more humid than indoor air. Open windows exchange your air-conditioned, dehumidified air for saturated air, slowing the process and raising the microclimate humidity inside the affected cavity.
- Pointing a fan into a wall cavity. A fan directed into an open wall blows surface moisture deeper into the cavity and creates an environment that supports mold growth. Cavity drying requires controlled airflow with low-grain air, not a fan.
- Cutting into drywall without a moisture meter to guide the cut line. Opening a wall without knowing how high the moisture has climbed means either opening too little, leaving wet material, or opening too much, adding cost and disruption. A professional meter reading tells you exactly what to open.
- Returning furniture and flooring to the room before it reaches the dry standard. The room feels dry to the touch, and you move everything back in. Then the trapped moisture beneath the furniture and flooring begins to grow mold. Professional drying includes confirmation readings before the room is handed back.
- Not photographing the initial condition before touching anything. This one mistake makes every insurance conversation harder. The adjuster needs to see the damage as it existed. Photos taken after you cleaned up tell a different, weaker story.
When to Call a Professional
Call when the water is contaminated, when it has been present more than 24 hours, when it is behind walls or under flooring, when the affected area is larger than one room, or when you see any visible mold. Call when the source of the water is unknown and you cannot find it after checking fixtures, appliances, and the visible plumbing. Call when you are planning to file an insurance claim and want the mitigation documented to industry standard. Call when you started a DIY dry-out and the moisture is not clearly decreasing after 48 hours. None of these calls commit you to a contract. A professional assessment gives you the moisture readings, the scope, and a written price before any work starts.
Tidemark Water Damage Tampa offers free estimates in Tampa, and our mold remediation in Tampa assessments include moisture mapping that shows exactly where the water traveled through your structure. We answer the phone with a live person, 24/7, so you can call (850) 828-8896 at 2 a.m. on a Sunday and speak to someone who can walk you through the first steps right then.
Frequently Asked Questions
You can surface-dry a small clean-water event yourself if you act within the first 24 hours, remove the standing water, and verify the affected surfaces reach their normal dry state. Structural drying, meaning cavity and material drying, is not DIY work, because you cannot verify hidden moisture without professional meters and drying equipment. Our water damage restoration maintenance checklist for Tampa homeowners details what to monitor year-round. In Tampa’s humid climate, the risk of a DIY dry-out leaving hidden moisture behind is high enough that a professional moisture check is worth the cost whenever water has gone beyond a simple floor spill.
In Tampa during the wet season, where temperatures sit at 78°F and above with relative humidity over 70% indoors, active mold growth can begin within 48 hours in a closed wall cavity or other unventilated space. The national guidance of 72 hours applies to drier, cooler climates. If water has been present inside a Tampa home for more than two days, assume microbial growth is possible even if you do not see it yet, and have the space assessed before closing it up.
Water damage restoration in Tampa typically costs between $3.50 and $7.00 per square foot of affected space, with most single-room clean-water projects landing between $1,200 and $3,500 depending on the extent of structural drying required. The exact number depends on the size of the affected area, the materials involved, and whether the water was clean or contaminated. We give you a written scope and a written price before any work starts, so the number is never a surprise.
Most homeowners policies cover sudden and accidental water damage, which includes a burst pipe or supply line failure, and most cover the mitigation and drying portion of the claim when performed immediately after the loss. Gradual leaks, unresolved maintenance issues, and some types of flooding may not be covered depending on your policy. The strongest position for an insurance claim is professional mitigation with documented moisture readings, which answers the adjuster’s questions during the initial review and protects you against later secondary-damage disputes. We coordinate directly with your adjuster and provide photo documentation of every step.
Stop the water at the source, cut power to the affected area, photograph everything, then remove standing water and move contents out. Do these steps in that order, beginning within the first hour if possible. If the water is gray or black, or if the flooding is widespread, stop after the photos and call a professional before doing more, because contaminated water changes the cleanup requirements and the safety precautions. You can always call us at (850) 828-8896 and one of our technicians will walk you through the first steps over the phone, based on what you are seeing in your home.
The answer depends on where the water went and what kind of water it was. If the water was clean, the area is small, and the visible surfaces are the only thing affected, a thorough cleaning and drying may be sufficient. If the water went into walls, under flooring, or into a slab, a simple cleaning will leave the hidden moisture in place, and remediation becomes necessary later at a higher cost. The way to know the difference is a moisture assessment with a professional meter, which measures the wall cavities and subfloor rather than just the visible surface. That assessment is the difference between cleaning the room and fixing the home. Call us for a free assessment and we will tell you honestly whether you need full remediation or a targeted cleaning.
The Bottom Line
The DIY-versus-professional question in Tampa comes down to one thing: can you measure what you cannot see? If you can, you can dry it. If you cannot, you are guessing, and guessing about moisture in a Tampa wall cavity is how small leaks become mold remediations and insurance disputes. Do the surface work yourself. Stop the water, extract what you can, move the contents, document everything. Then make the call based on what the water was, how long it has been there, and where it went. Those three factors, not your skill level, decide the outcome. When in doubt, a free professional assessment in Tampa gives you the numbers and clears the uncertainty. Explore more guides & resources on protecting your home from water damage.
If you are standing in a wet room right now, call us. A live person will answer at (850) 828-8896, any hour, any day. We will help you take the right first steps over the phone, then send a crew with professional equipment from XPOWER, B-Air, and Injectidry, operated by IICRC-credentialed technicians who carry moisture meters and know what the numbers mean. If a fire has damaged your home too, our fire damage restoration in Tampa team works the same way: documented assessment, written scope, and a written price before we begin.
Written by Rick Sumner, Owner at Tidemark Water Damage Tampa, serving Tampa since 2006.